 Save to Pinterest
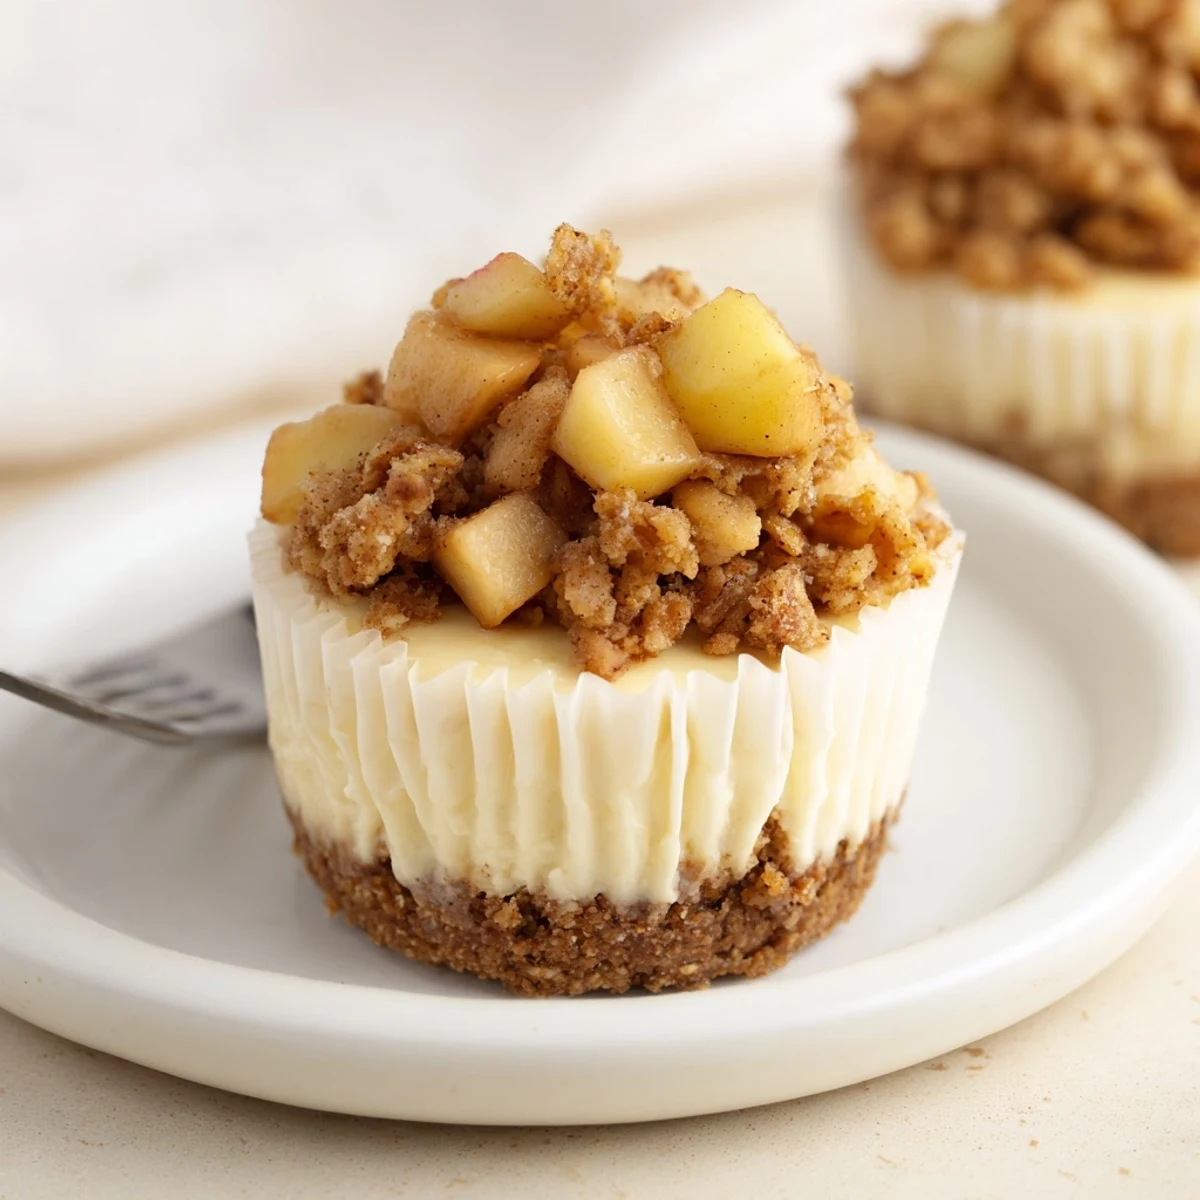
 These individual desserts feature a buttery graham cracker crust supporting a velvety smooth cream cheese filling. The crowning glory is a warm apple crisp topping made with tender diced apples coated in brown sugar, cinnamon, and nutmeg, then finished with golden oats. Perfect balance of textures and autumn flavors in each bite.
The smell of cinnamon apples wafting through my tiny apartment kitchen during my first autumn in Chicago changed everything about how I thought about individual desserts. I was experimenting with ways to make cheesecake more portable for a book club meeting, and the idea of apple crisp on top hit me while watching rain streak against my kitchen window. These little cheesecakes became my go-to comfort food that entire winter.
My sister actually gasped when she bit into her first mini cheesecake at that book club meeting. I had worried the apple topping might make the cheesecake soggy if they sat too long, but the crisp oats stayed perfectly crunchy and the apples remained tender without becoming mushy. Now whenever autumn leaves start falling, I get requests to bring these to every gathering.
Ingredients
- Graham cracker crumbs: I crush them finely in a food processor for a uniform texture that holds together beautifully when pressed into the muffin cups
- Cream cheese: Make absolutely sure its completely softened to room temperature or you will end up with lumpy batter no matter how much you beat it
- Eggs: Add them one at a time and beat just until incorporated to prevent incorporating too much air
- Sour cream: This little touch of tang cuts through the richness and makes the cheesecakes taste like they came from a bakery
- Apples: I use Granny Smith because they hold their shape during cooking and provide the perfect tart contrast to the sweet topping
- Rolling oats: Quick oats work fine but old fashioned rolled oats give you that satisfying crunch and nutty flavor
Instructions
- Prep your pan and warm the oven:
- Getting everything ready before you start keeps the process smooth and prevents scrambling for tools mid-recipe
- Press the graham cracker crust into your lined muffin tin:
- Use the back of a measuring spoon to press the crumbs down firmly and create an even layer in each cup
- Give those crusts a quick bake:
- Five minutes in the oven sets the crust so it does not get soggy when you add the cheesecake filling
- Beat your room temperature cream cheese:
- Start on low speed to break it up before increasing to medium and beating until absolutely smooth
- Add the sugar and beat until combined:
- Spend a full minute here to ensure no granules remain before moving on to the eggs
- Add eggs one at a time:
- Mix each egg completely before adding the next to prevent overworking the batter
- Finish with vanilla and sour cream:
- Scrape down the sides of your bowl and mix just until everything is incorporated
- Fill the cooled crusts:
- Use an ice cream scoop or two spoons to portion the batter evenly without getting filling on the pan edges
- Bake until just set:
- The centers should still have a slight wobble like gelatin when you gently shake the pan
- Cook your apple mixture in a skillet:
- Stir occasionally until the apples are tender but still hold their shape perfectly
- Add the oats and flour:
- The flour helps bind the topping while the oats get lightly toasted in the buttery apple juices
- Let the topping cool completely:
- This step is crucial because hot topping will melt your perfectly chilled cheesecakes
- Assemble your mini cheesecakes:
- Spoon a generous amount of apple crisp over each chilled cheesecake right before serving
 Save to Pinterest
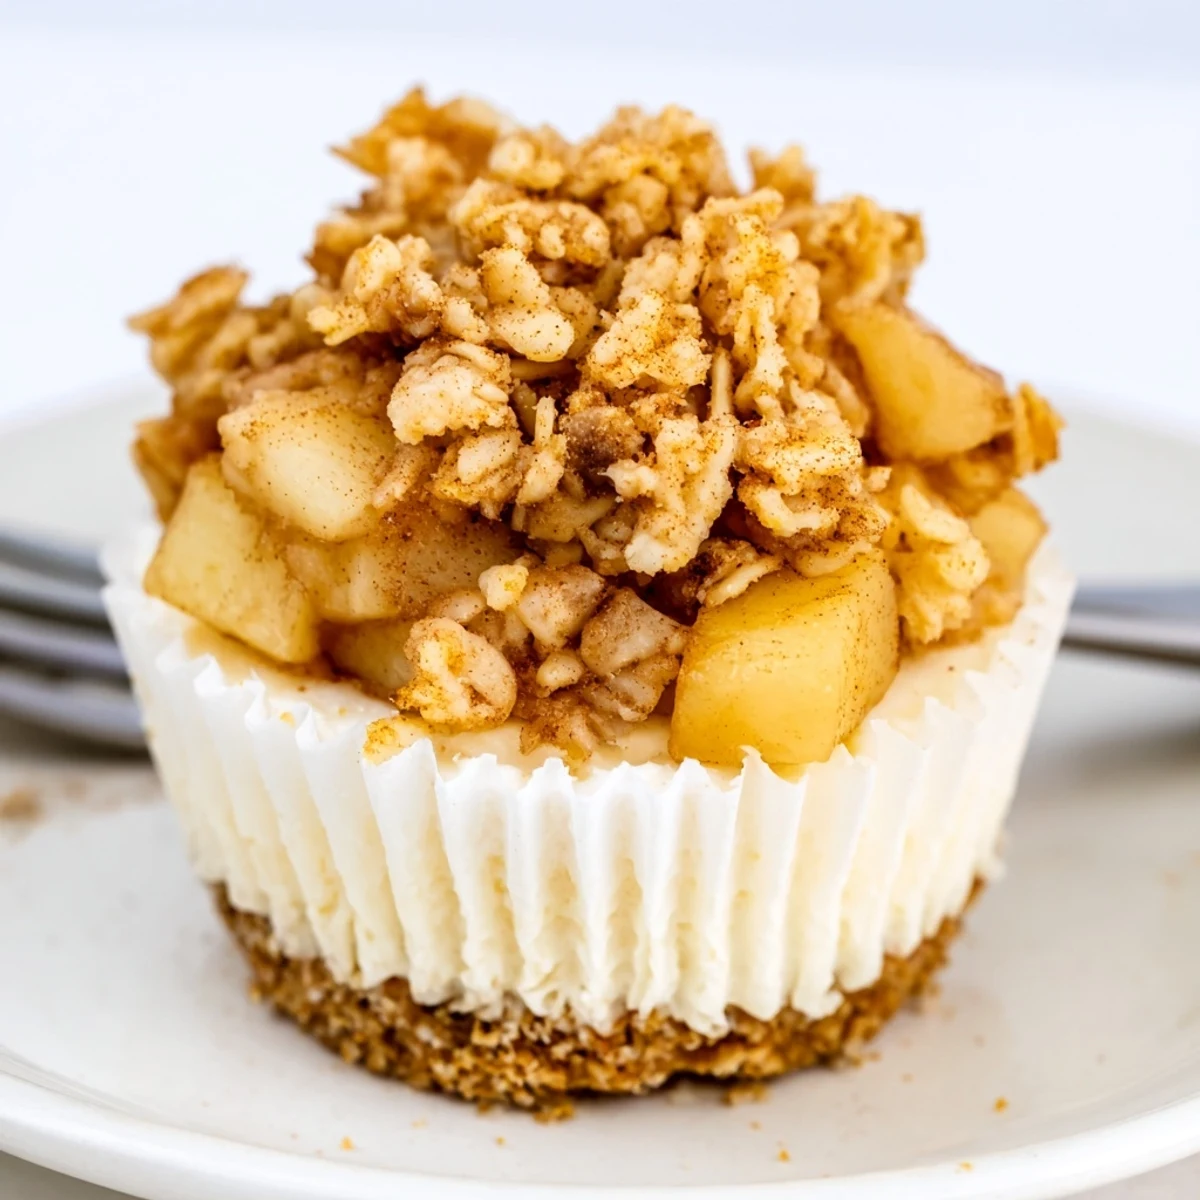
 These became a Thanksgiving tradition after I brought them to a potluck one year when everyone was too stuffed for full slices of pie. My aunt actually asked if I could make them for her wedding the following spring and now they appear at every family celebration. Something about having your own perfectly portioned dessert makes people feel special and cared for.
Making Them Ahead
I have learned through many late night baking sessions that the cheesecake bases can be made up to two days in advance and stored tightly wrapped in the refrigerator. The apple crisp topping actually improves after a day as the flavors meld together, though I recommend keeping it separate until serving time to preserve that irresistible crunch factor.
Perfecting The Texture
One crucial lesson I learned after several batches is that overmixing the cheesecake batter introduces too much air, causing the mini cheesecakes to puff up dramatically in the oven and then collapse into cracked, sunken disappointments. Now I mix just until everything comes together and trust that the gentle folding motion will give me that silky professional texture every time.
Serving Suggestions
While these are absolutely delicious on their own, a warm drizzle of salted caramel sauce takes them over the top and adds that restaurant quality finish. A small dollop of lightly sweetened whipped cream on the side balances the tart apples, or you could crumble an extra graham cracker over the top for more texture.
- Serve them still slightly chilled so the cheesecake holds its shape perfectly
- Let the topping come to room temperature for about ten minutes before serving
- Use a small offset spatula to transfer them from the pan without damaging the edges
 Save to Pinterest
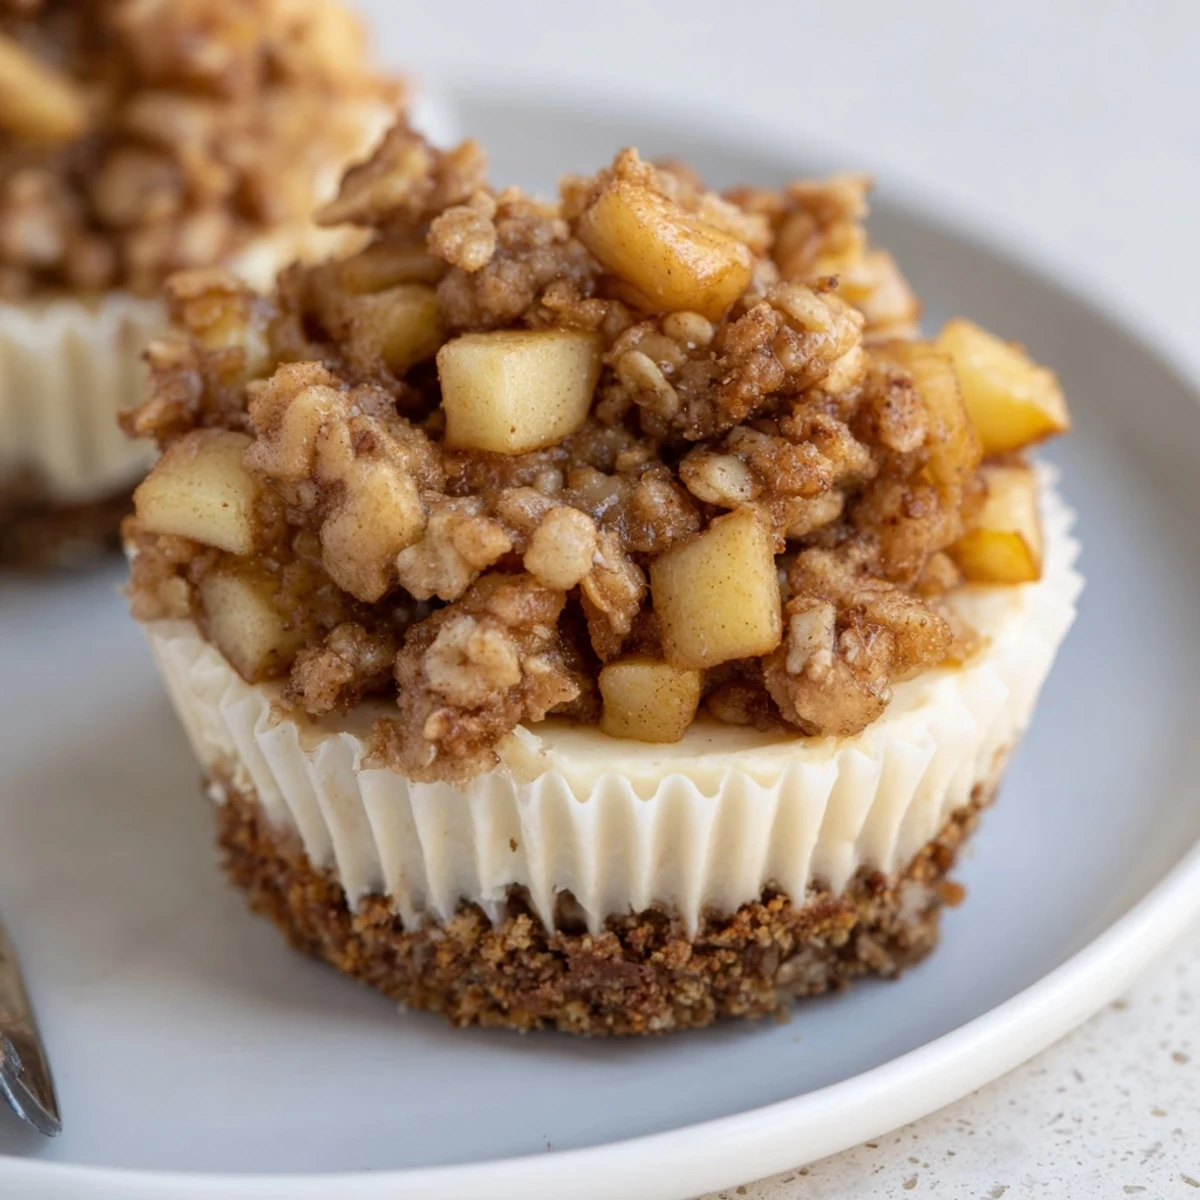
 These little cheesecakes have a way of making ordinary autumn afternoons feel special and cozy. I hope they become as treasured in your kitchen as they have become in mine.
Your Questions Answered
- → Can I make these ahead of time?
-
Yes, these mini cheesecakes actually improve when made ahead. The cheesecakes need at least 2 hours of chilling time before topping. You can prepare the base cheesecakes up to 2 days in advance and add the apple crisp topping just before serving.
- → What type of apples work best?
-
Firm apples like Granny Smith, Honeycrisp, or Braeburn hold their shape beautifully when cooked. These varieties provide a nice tart contrast to the sweet, creamy cheesecake filling and maintain texture in the warm topping.
- → Can I freeze these mini cheesecakes?
-
Absolutely! Freeze the plain cheesecakes without the apple topping for up to 2 months. Thaw overnight in the refrigerator, then add freshly made warm apple crisp topping before serving for the best texture and flavor.
- → How do I know when the cheesecakes are done baking?
-
The centers should be just set with a slight wobble, similar to custard. They will continue firming up as they cool. Overbaking causes cracks, so remove them when the edges are set but centers still jiggle slightly.
- → What's the best way to store leftovers?
-
Keep refrigerated in an airtight container for up to 3 days. The oat crisp topping will soften slightly but remains delicious. For best texture, bring to room temperature 15-20 minutes before serving.
- → Can I use a different crust?
-
Certainly! Vanilla wafers, gingersnaps, or even pecan shortbread cookies make excellent crust alternatives. Simply crush them into fine crumbs and combine with melted butter using the same proportions as the graham cracker crust.