
 Save to Pinterest
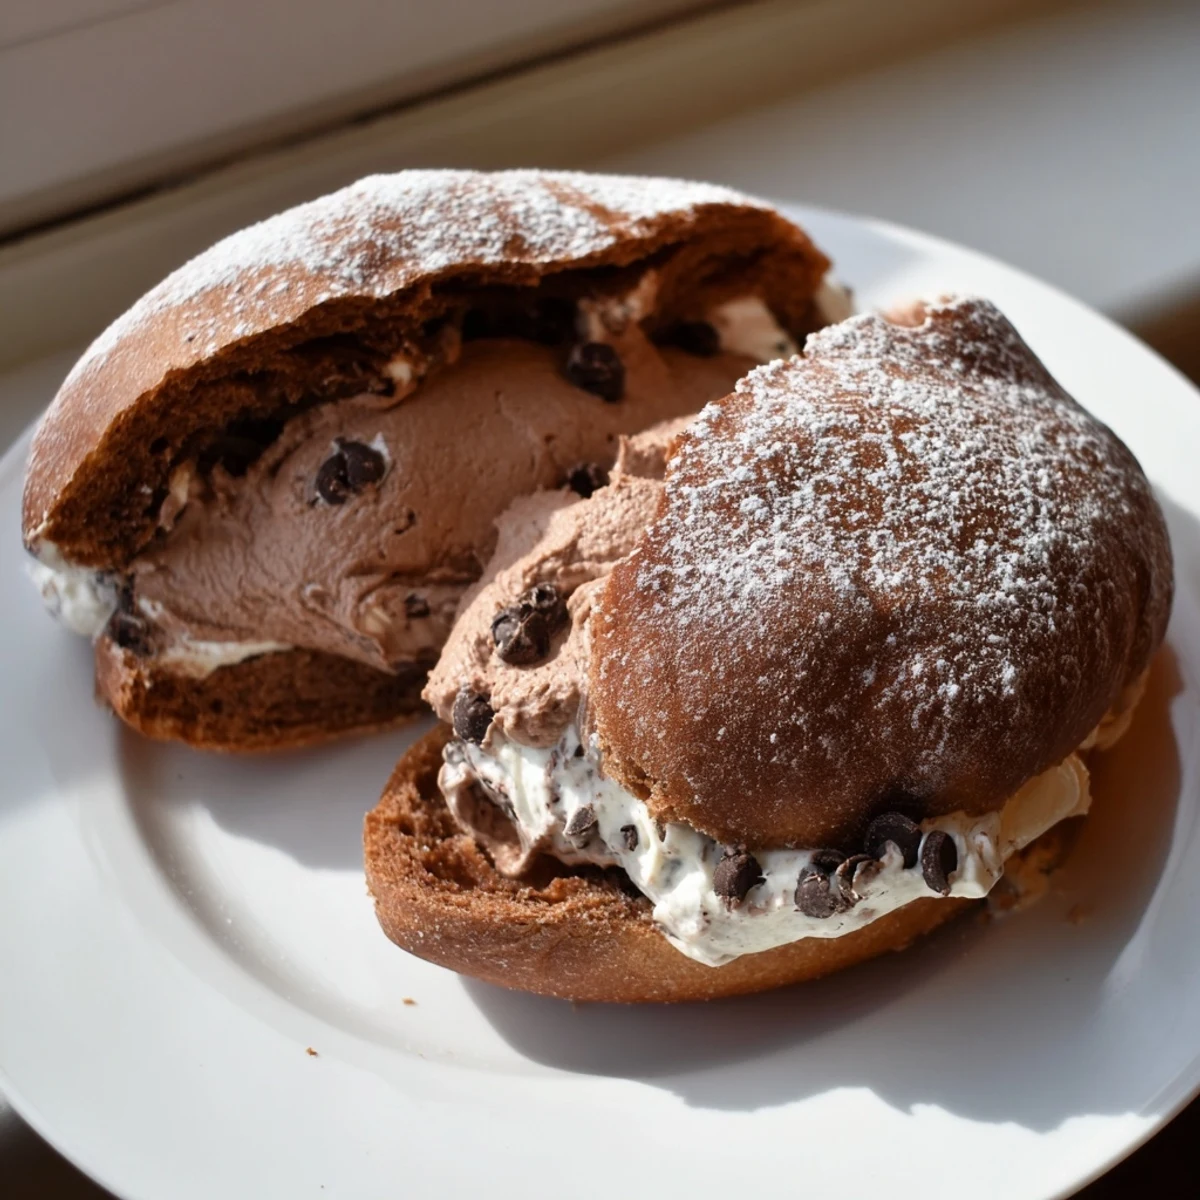
 Italian chocolate maritozzi are soft, pillowy sweet buns enriched with cocoa powder and studded with dark chocolate chunks. Originating from Rome, these beloved pastries are traditionally enjoyed at breakfast alongside a cappuccino.
The dough is made with flour, cocoa powder, milk, butter, and yeast, then kneaded until silky and elastic before a long rise. Each bun is shaped into a plump oval, brushed with egg wash, and baked until just firm.
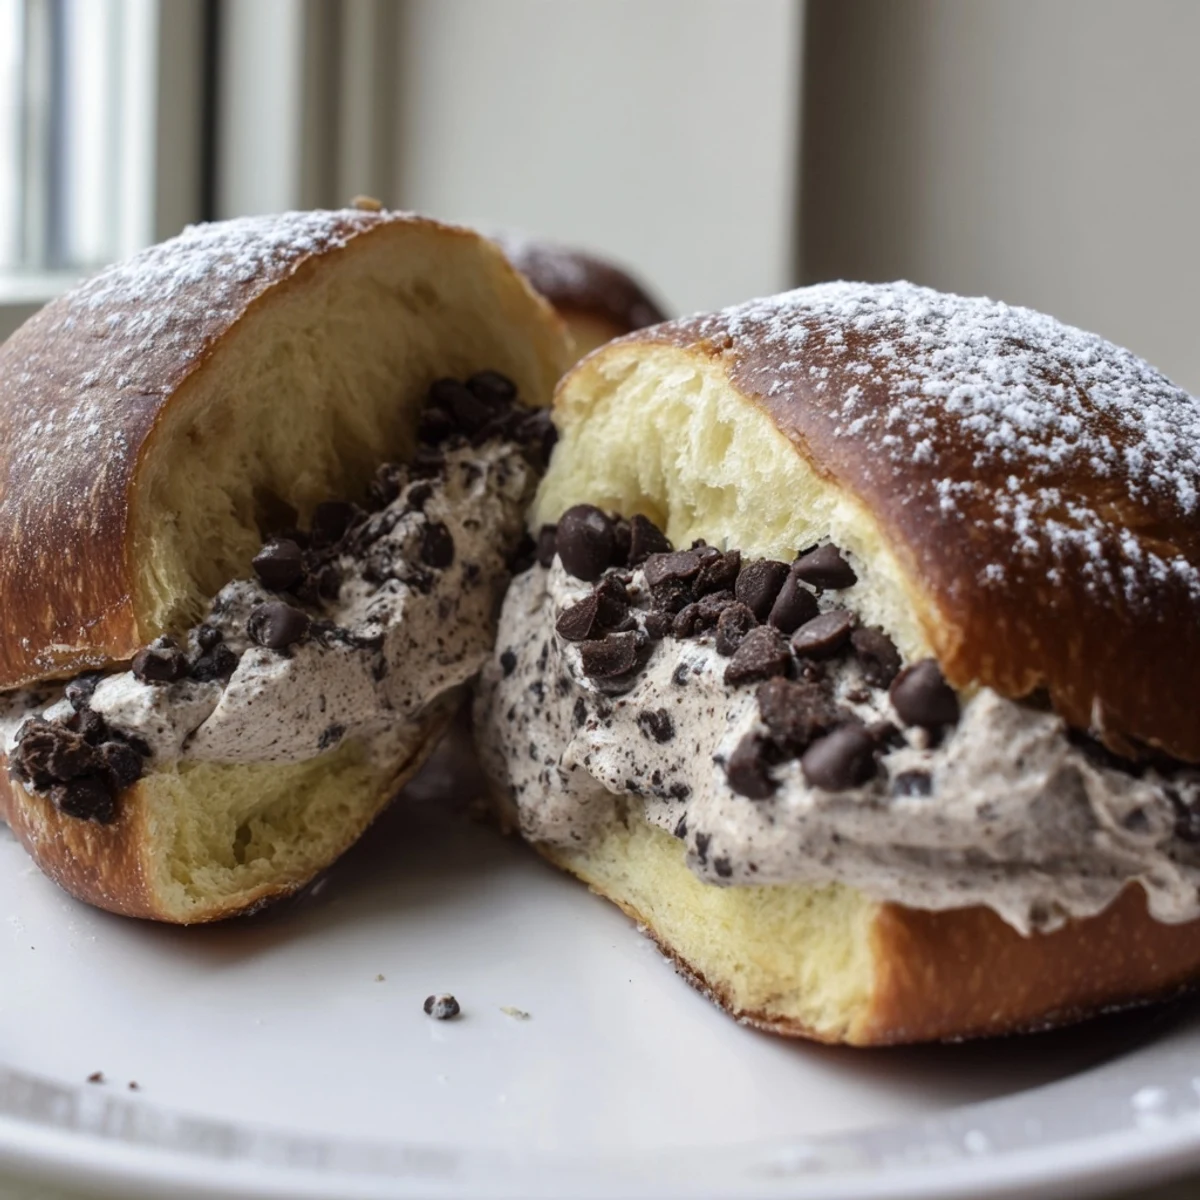
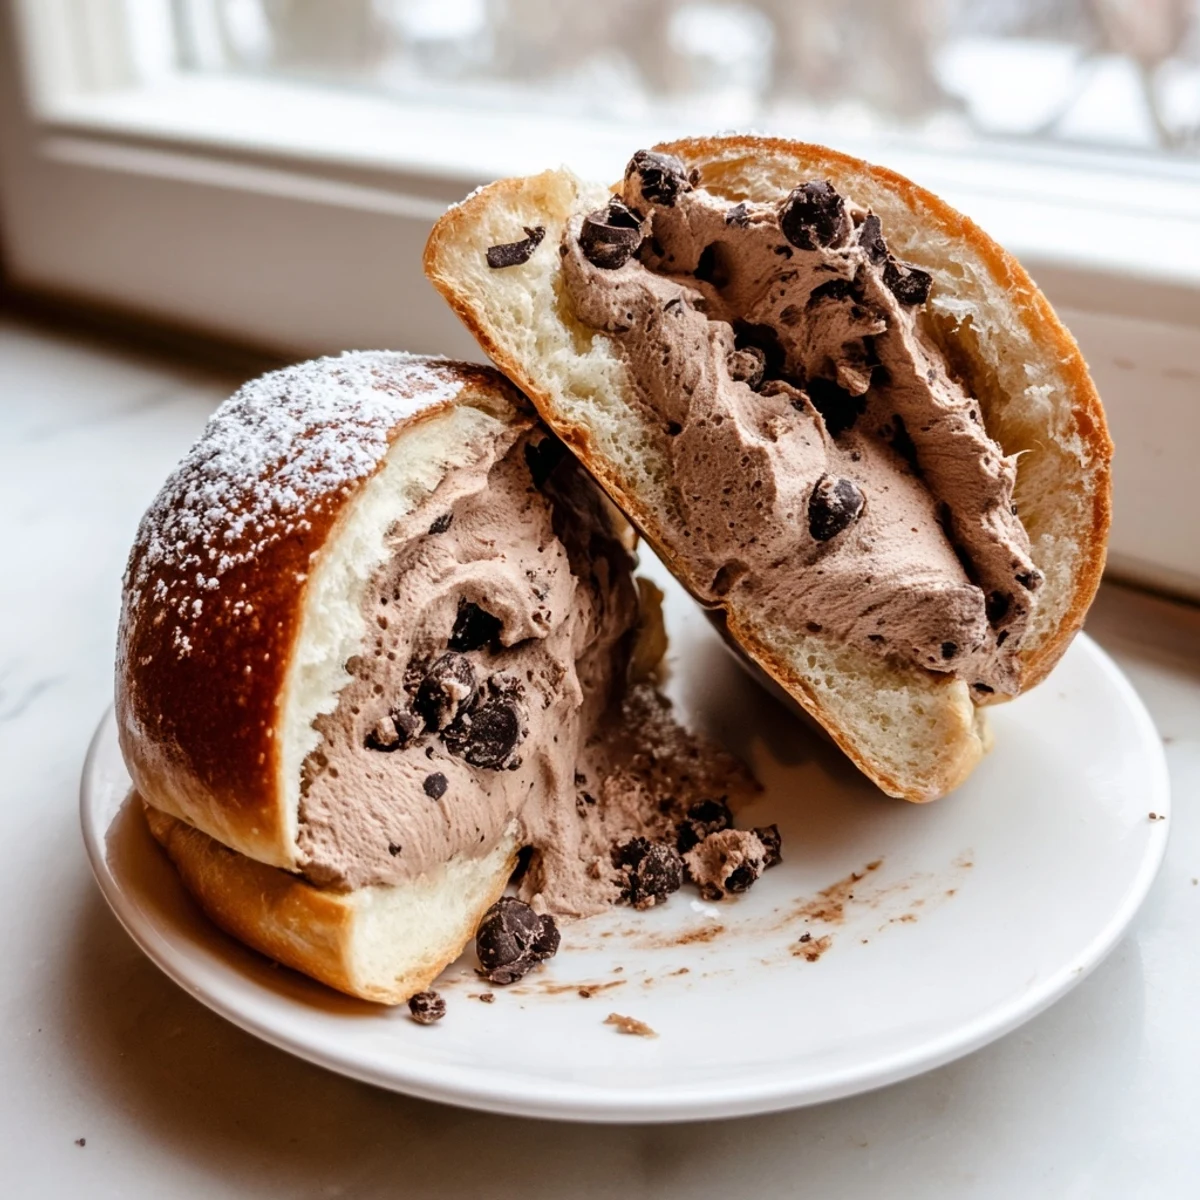
Once cooled, the buns are sliced and filled with a luscious chocolate whipped cream made by folding melted dark chocolate into freshly whipped heavy cream. A dusting of powdered sugar finishes them beautifully.
There is something almost theatrical about pulling a tray of chocolate maritozzi from the oven, their plump oval shapes glowing with an egg wash sheen, the kitchen smelling like a Roman pastry shop at dawn. I stumbled on these during a rainy afternoon deep dive into Italian breakfast traditions and got so absorbed that I missed my own dinner plans. The original maritozzi are usually studded with candied fruit and raisins, but the chocolate version felt inevitable, like the recipe had been waiting centuries for someone to lean all the way in.
I brought a batch of these to a friends Sunday morning gathering and watched three adults abandon their coffee mugs mid conversation to reach for seconds. Someone asked if I had driven to a bakery before arriving, which remains one of the finest compliments my kitchen has ever produced.
Ingredients
- All purpose flour (350 g): The reliable backbone of the dough, providing enough structure without making the buns dense or heavy.
- Unsweetened cocoa powder (40 g): This is what transforms ordinary sweet buns into something deeply chocolatey without adding extra sweetness.
- Whole milk lukewarm (120 ml): The warmth wakes up the yeast without killing it, and the fat keeps the crumb tender.
- Granulated sugar (60 g): Just enough sweetness for the dough itself, since the filling brings plenty more.
- Active dry yeast (7 g): The leavening agent that gives maritozzi their signature puff and pillowy interior.
- Large egg (1): Enriches the dough with fat and protein for a softer, more luxurious crumb.
- Unsalted butter softened (40 g): Adds richness and helps create that slight chew at the crust.
- Vanilla extract (1/2 tsp): A quiet background note that rounds out the chocolate flavor beautifully.
- Salt (1/2 tsp): Essential for balancing sweetness and strengthening the gluten network.
- Dark chocolate chopped (60 g): These little pockets of melted chocolate scattered through the dough are a wonderful surprise.
- Heavy whipping cream (300 ml): The base of the filling, whipped to firm peaks for a cloud like texture.
- Dark chocolate melted and cooled (70 g): Folded into the whipped cream for a rich, truffle like center.
- Powdered sugar (30 g): Sweetens the filling gently without making it grainy.
- Vanilla extract for filling (1 tsp): A slightly more generous amount here because the cream can handle it.
- Egg yolk plus milk for brushing (1 yolk, 2 tbsp milk): Creates that gorgeous golden mahogany shine on the baked buns.
Instructions
- Wake up the yeast:
- Stir the yeast and one tablespoon of sugar into the lukewarm milk and let it sit undisturbed for about ten minutes until the surface looks frothy and alive. If nothing happens, your yeast may be expired and you should start fresh.
- Build the dry mixture:
- In a large bowl, whisk together the flour, cocoa powder, remaining sugar, and salt until the color is uniform and no pockets of cocoa remain hiding in the corners.
- Bring the dough together:
- Create a well in the center of your dry ingredients and drop in the egg, vanilla, softened butter, and the foamy yeast mixture. Stir with a wooden spoon until a shaggy, sticky mass forms and everything is roughly combined.
- Knead until elastic:
- Turn the dough onto a lightly floured surface and knead by hand or with a mixer for eight to ten minutes until it feels smooth and springs back when gently pressed. Add the chopped chocolate during the last two minutes of kneading so the pieces stay somewhat intact.
- First rise:
- Transfer the dough to a clean bowl, cover it with a damp towel or plastic wrap, and let it rest somewhere warm for one to two hours until it has puffed to roughly double its original size.
- Shape the buns:
- Gently punch down the dough and divide it into eight equal portions, using a bench scraper or knife for accuracy. Roll each piece into a plump oval and set them on a parchment lined baking tray with space between them for spreading.
- Second rise:
- Cover the shaped buns loosely and let them puff up for about forty minutes until they look soft, swollen, and ready to bake.
- Preheat and glaze:
- While the buns finish rising, heat your oven to 180 degrees Celsius or 355 degrees Fahrenheit, then whisk the egg yolk with two tablespoons of milk and brush it gently over each bun for a glossy finish.
- Bake:
- Slide the tray into the oven and bake for fifteen to eighteen minutes until the tops are set and feel slightly firm when tapped. Transfer to a wire rack and let them cool completely before filling.
- Make the filling:
- Whip the heavy cream with powdered sugar and vanilla until it holds firm peaks that stand upright when the whisk is lifted. Gently fold in the melted and cooled dark chocolate with a spatula, working slowly to keep the volume airy.
- Fill and serve:
- Use a serrated knife to slice each bun lengthwise, leaving one side attached as a hinge, then pipe or spoon a generous mound of chocolate cream inside. Dust with powdered sugar if you like and serve immediately while the contrast between soft bun and cool cream is at its best.
 Save to Pinterest
 The morning I made these for my neighbors birthday breakfast, she stood in her doorway holding a maritozzi in one hand and her phone in the other, trying to decide whether to eat it or photograph it first. She ate it, then took the photo of the remaining seven, and told me this was the only correct order of operations.
What I Learned Getting the Dough Wrong Twice
The first time I made these I rushed the kneading and ended up with buns that spread sideways instead of puffing upward, like chocolate pancakes with ambitions. The second attempt I overcompensated by adding too much flour and the texture turned dense and bready, more like a sandwich roll than a pastry.
Why Patience Is the Secret Ingredient
Yeast dough on a cold day behaves like a cat that does not want to move, and no amount of glaring at the bowl will speed things along. I learned to tuck the covered bowl into my oven with just the light switched on, which creates a warm, draft free cocoon that the dough finds irresistible.
Serving and Storing Like a Roman
These are absolutely best eaten the day they are made, ideally within an hour of filling when the cream is cold and the bun is still faintly soft from the oven. You can bake the buns a day ahead and store them in an airtight container, then fill them just before serving for the best texture contrast.
- A dusting of powdered sugar right before serving makes them look like they came from a professional pastry case.
- If you want a sweeter filling, swap the dark chocolate for milk chocolate and reduce the powdered sugar slightly to compensate.
- Serve with a strong espresso or cappuccino because the bitterness cuts through the richness in exactly the right way.
 Save to Pinterest
 These chocolate maritozzi are a labor of love that reward every minute of waiting with something truly special. Share them with someone who appreciates the magic of a warm kitchen and a freshly baked bun.
Your Questions Answered
- → Can I make maritozzi without cocoa powder?
-
Yes, you can omit the cocoa powder and increase the flour by 40 g to make the classic plain version. The buns will be lighter in color and have a more traditional vanilla-forward flavor.
- → How do I store leftover chocolate maritozzi?
-
Store filled maritozzi in an airtight container in the refrigerator for up to 2 days. The cream filling requires refrigeration. For best texture, bring them to room temperature for 15 minutes before serving.
- → Can I freeze the buns before filling?
-
Absolutely. Bake the buns, let them cool completely, then freeze in a sealed bag for up to 1 month. Thaw at room temperature, then fill with freshly made chocolate whipped cream when ready to serve.
- → Why is my dough too sticky to handle?
-
Cocoa powder absorbs less liquid than flour, which can make the dough feel softer. If it is unmanageably sticky, add flour one tablespoon at a time during kneading until it becomes smooth and elastic.
- → What type of dark chocolate works best for the filling?
-
Use a good-quality dark chocolate with 60 to 70 percent cocoa content. It provides rich flavor without being overly bitter. Let the melted chocolate cool to room temperature before folding it into the whipped cream to prevent deflating it.
- → Can I use instant yeast instead of active dry yeast?
-
Yes, instant yeast can be substituted in equal amounts. Skip the activation step and mix it directly into the dry ingredients. The rise time may be slightly shorter, so keep an eye on the dough as it proofs.