Save to Pinterest
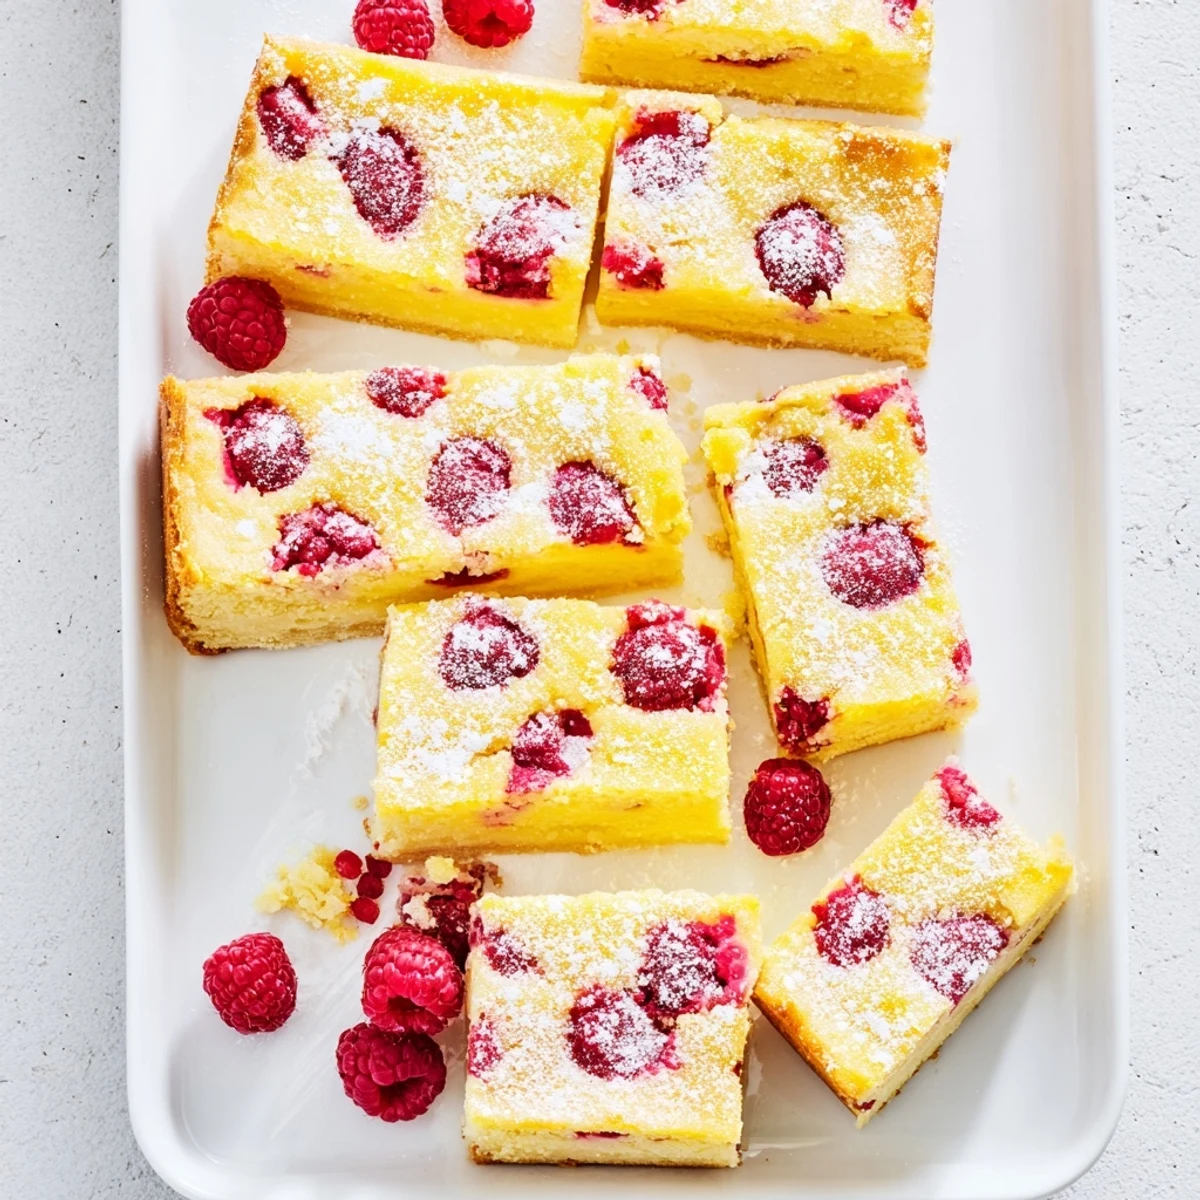
 These delightful bars feature a crisp, buttery shortbread base topped with a vibrant layer of fresh raspberries and tangy lemon curd. The combination of sweet and tart flavors creates a perfectly balanced dessert that's both refreshing and indulgent.
The crust comes together quickly with cold butter cut into flour and sugar, then pressed into the pan and briefly baked. Meanwhile, the filling gets its bright, zesty character from fresh lemon juice and zest, while whole raspberries add bursts of sweet fruitiness throughout.
After baking until set, the bars need time to cool completely—chilling helps them slice cleanly and develops the flavors. A dusting of powdered sugar adds an elegant finishing touch.
My grandmother had this way of making dessert feel like an event, nothing too fancy but always memorable. These lemon raspberry bars became my go-to when I needed something that felt special but didn't require me to be a pastry chef. The first time I made them for a summer barbecue, my friend Sarah actually asked if I'd secretly bought them from a bakery.
Last summer, I made three batches for my niece's graduation party because they disappeared so quickly. My brother-in-law, who claims he doesn't like fruity desserts, ate four and then had the nerve to ask if I could make them for his birthday instead of cake.
Ingredients
- 1 cup all-purpose flour: The foundation of your shortbread crust, don't pack it down when measuring or your crust will be tough instead of melt-in-your-mouth tender
- 1/4 cup granulated sugar: Just enough sweetness in the crust to balance the tart filling without making it cloyingly sweet
- 1/4 teaspoon salt: This tiny amount is actually crucial because it highlights the butter flavor and prevents the bars from tasting flat
- 1/2 cup unsalted butter: Keep this stone cold and cut into small cubes before you start, warm butter will make your crust spread and lose that perfect shortbread texture
- 3/4 cup granulated sugar: The filling needs more sugar than the crust to balance all that bright lemon acidity and the natural tartness of fresh raspberries
- 2 tablespoons all-purpose flour: This small amount helps set the lemon layer and prevents it from being too loose or custard-like
- 1/4 teaspoon baking powder: Just enough to give the lemon layer a tiny bit of lift so it's not dense or heavy
- 2 large eggs: Room temperature eggs will incorporate more smoothly into the lemon mixture, giving you a silkier filling
- 1/3 cup fresh lemon juice: About two medium lemons should get you there, and freshly squeezed makes an enormous difference over bottled
- 1 tablespoon lemon zest: This is where all those aromatic lemon oils live, so zest your lemons before you juice them
- 1 cup fresh raspberries: Handle these gently and fold them in at the end so they don't completely break apart, though some smashing is actually pretty
Instructions
- Get your oven ready:
- Preheat to 350°F and line an 8x8-inch pan with parchment paper, letting the ends hang over the sides like little handles for easy lifting later
- Make the crust:
- Mix the flour, sugar, and salt in a medium bowl, then work in that cold butter with a pastry blender until it looks like coarse crumbs with some pea-sized pieces still visible
- Press and bake:
- Firmly press the crumbly mixture into your prepared pan, using the back of a measuring cup to get it even and tight, then bake for 15-18 minutes until it's just starting to turn golden at the edges
- Whisk the filling base:
- While the crust bakes, whisk together the sugar, flour, and baking powder, then add the eggs, lemon juice, and zest until everything is completely smooth
- Add the berries:
- Gently fold in the fresh raspberries, being careful not to crush them completely, though a few smashed ones create those beautiful pink ribbons throughout
- Layer and bake again:
- Pour the lemon raspberry mixture right over that warm crust, return it to the oven, and bake for 22-25 minutes until the center is set and doesn't jiggle when you gently shake the pan
- The patience part:
- Let the bars cool completely in the pan, then refrigerate for 1-2 hours because cold bars cut so much cleaner and the texture becomes absolutely perfect
- The finishing touch:
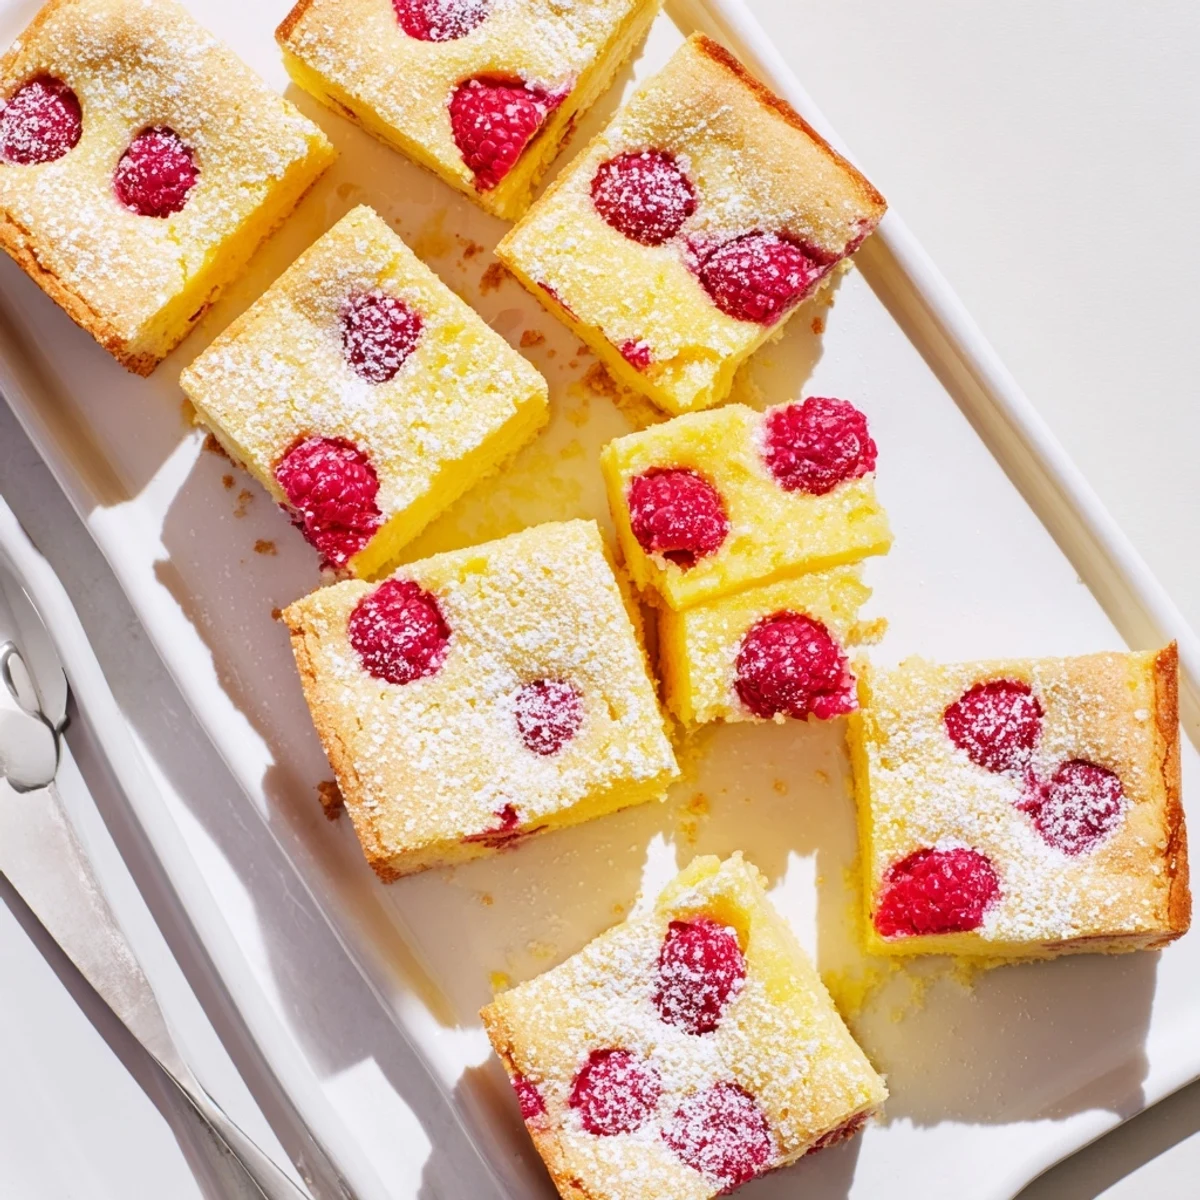
- Dust with powdered sugar right before serving if you want that bakery look, though they're stunning even without it
 Save to Pinterest
 These bars became my signature dish after I brought them to my book club meeting and everyone spent more time discussing the dessert than the actual book. Now they're the first thing people ask about when they see me heading to a party with a covered dish.
Making Them Ahead
You can make the entire recipe up to two days in advance, just keep them refrigerated and wait to dust with powdered sugar until right before serving. The flavors actually meld together beautifully overnight, making them even better than freshly baked ones.
Berry Substitutions
Fresh raspberries are ideal but frozen ones work in a pinch, just thaw them completely and drain well before folding in. I've also made these with blueberries and a combination of both berries for a patriotic twist.
Serving Suggestions
These bars pair wonderfully with a cup of hot tea or a glass of chilled prosecco for dessert. They're rich enough to serve on their own, but a dollop of lightly sweetened whipped cream never hurt anyone.
- Cut them into small squares because they're quite rich and people will want to try multiple flavors
- Bring them to room temperature for about 15 minutes before serving if they've been refrigerated
- Store them in the refrigerator, especially in warm weather, because the butter crust can soften
 Save to Pinterest
 There's something about the combination of buttery shortbread and bright lemon that feels like sunshine in dessert form. Every time I make these, I'm reminded that the best recipes are often the simplest ones.
Your Questions Answered
- → Can I use frozen raspberries instead of fresh?
-
Yes, frozen raspberries work well in this dessert. Thaw them completely and drain off any excess liquid before gently folding them into the lemon mixture to prevent the filling from becoming too watery.
- → How long do these bars need to chill before cutting?
-
For clean, neat slices, chill the bars in the refrigerator for at least 1-2 hours. This allows the filling to set completely and makes cutting much easier. You can also leave them overnight for even better results.
- → Can I make these ahead of time?
-
Absolutely! These bars actually taste better after resting in the refrigerator overnight. Store them in an airtight container for up to 4 days. The flavors meld together beautifully, and the texture becomes even more firm and sliceable.
- → Why did my filling turn out runny?
-
This usually happens if the filling wasn't baked long enough or if frozen raspberries weren't drained properly. The center should be set and no longer jiggly when you remove it from the oven. If needed, bake for an additional 3-5 minutes.
- → Can I substitute the all-purpose flour?
-
A 1:1 gluten-free flour blend typically works well for both the crust and filling. Keep in mind that the texture may be slightly different. Almond flour or other alternatives would significantly change the structure and aren't recommended.
- → Should I serve these at room temperature or chilled?
-
They're delicious either way! Chilled, they're firm and refreshing—perfect for warm weather. At room temperature, the texture becomes softer and the flavors seem more pronounced. Serve based on your preference or the occasion.