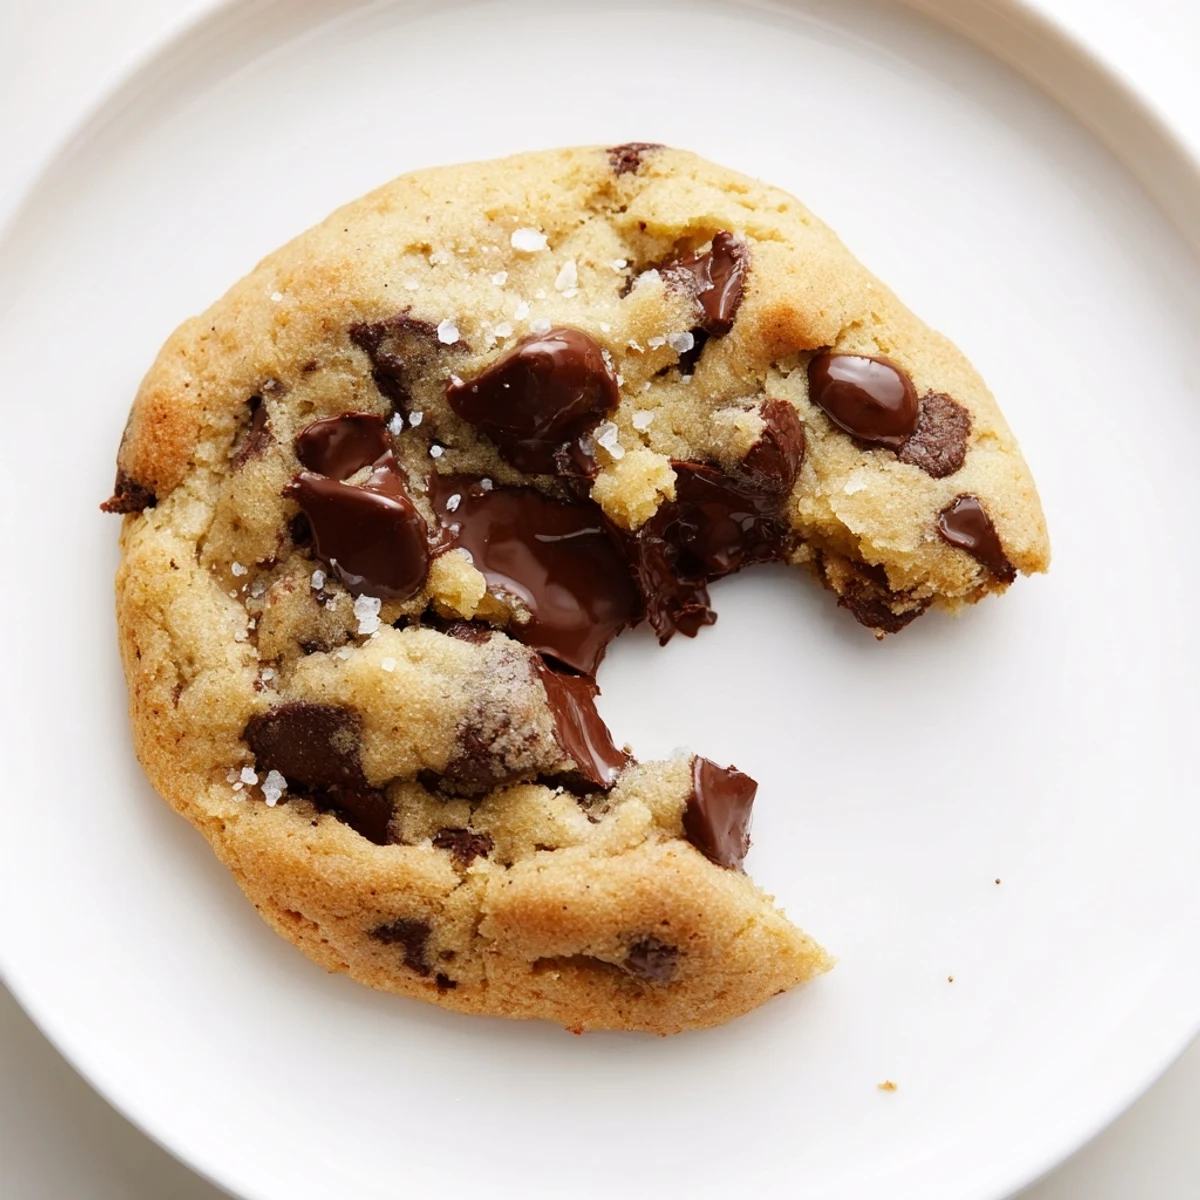
 Save to Pinterest
 Cream softened butter with granulated and brown sugar until light, beat in eggs and vanilla, then fold in a mixture of all-purpose flour, baking soda and salt. Stir in semi-sweet chocolate chips, scoop tablespoon-sized portions about 5 cm apart, and bake at 180°C (350°F) for 10–12 minutes until edges are golden and centers stay soft. Cool briefly on the sheets, then transfer to a wire rack. For chewier results, underbake slightly; add nuts or swap chocolate types to vary texture and flavor. Store airtight up to a week.
The sound of the oven clicking on a rainy Saturday afternoon is, in my kitchen, the unofficial start of cookie season. My youngest sits cross-legged on the counter, sneaking chocolate chips from the bag while pretending to help measure flour. There is always a moment of chaos when the butter isnt quite soft enough and we resort to grating it like cheese, laughing at the mess. Somehow the cookies always turn out, golden and fragrant, disappearing faster than seems mathematically possible.
I once brought a tin of these to a neighbors who had just moved in, expecting a polite five-minute hello. We ended up sitting on her kitchen floor surrounded by boxes, eating cookies and talking until midnight.
Ingredients
- 2 1/4 cups all-purpose flour: This gives the cookies their structure, and spooning it into the cup rather than scooping directly from the bag prevents dense, heavy cookies.
- 1 teaspoon baking soda: A small amount goes a long way toward that beautiful lift and slight spread during baking.
- 1/2 teaspoon salt: Never skip this, because salt makes the chocolate taste exponentially better and balances the sweetness perfectly.
- 1 cup (225 g) unsalted butter, softened: Softened means your finger leaves a gentle indent, not a melted puddle, and that distinction changes everything about your cookie texture.
- 3/4 cup granulated sugar: White sugar encourages crisp edges, which is the contrast that makes a chocolate chip cookie truly great.
- 3/4 cup packed brown sugar: Pack it firmly into the measuring cup, because the molasses moisture here is what gives you that irresistible chew.
- 2 large eggs: Adding them one at a time lets the dough emulsify properly so everything binds without becoming tough.
- 2 teaspoons pure vanilla extract: Use the real stuff if you can, because imitation vanilla leaves a flat, oddly chemical note that nothing else can mask.
- 2 cups semi-sweet chocolate chips: Semi-sweet hits the sweet spot between rich and balanced, but dark chocolate chunks are a glorious substitution if you want something more intense.
Instructions
- Preheat and prepare your pans:
- Set your oven to 180C (350F) and line two baking sheets with parchment paper so nothing sticks and cleanup is effortless.
- Whisk the dry ingredients together:
- In a medium bowl, whisk the flour, baking soda, and salt until evenly distributed, which prevents any bitter pockets of leavening in your finished cookies.
- Beat butter and sugars until dreamy:
- In a large bowl, beat the softened butter, granulated sugar, and brown sugar until the mixture looks pale, fluffy, and lighter than you expect, about three solid minutes.
- Add eggs and vanilla with care:
- Drop in one egg, beat until fully incorporated, then add the second followed by the vanilla extract, mixing until the dough looks smooth and glossy.
- Fold in the dry ingredients gently:
- Add the flour mixture gradually, mixing on low speed or by hand just until no white streaks remain, because overmixing builds gluten and makes cookies tough.
- Stir in the chocolate chips:
- Fold the chocolate chips in with a spatula using a gentle sweeping motion, stopping when they are evenly scattered throughout the dough.
- Scoop and shape the dough:
- Use a tablespoon or small cookie scoop to portion dough onto your prepared sheets, leaving about five centimeters between each mound so they have room to spread.
- Bake until barely done:
- Bake for 10 to 12 minutes, pulling them out when the edges are golden but the centers still look slightly underdone and soft, because they will continue cooking on the hot pan.
- Cool with patience:
- Let the cookies rest on the baking sheets for five full minutes before transferring to a wire rack, which lets them set without breaking apart.
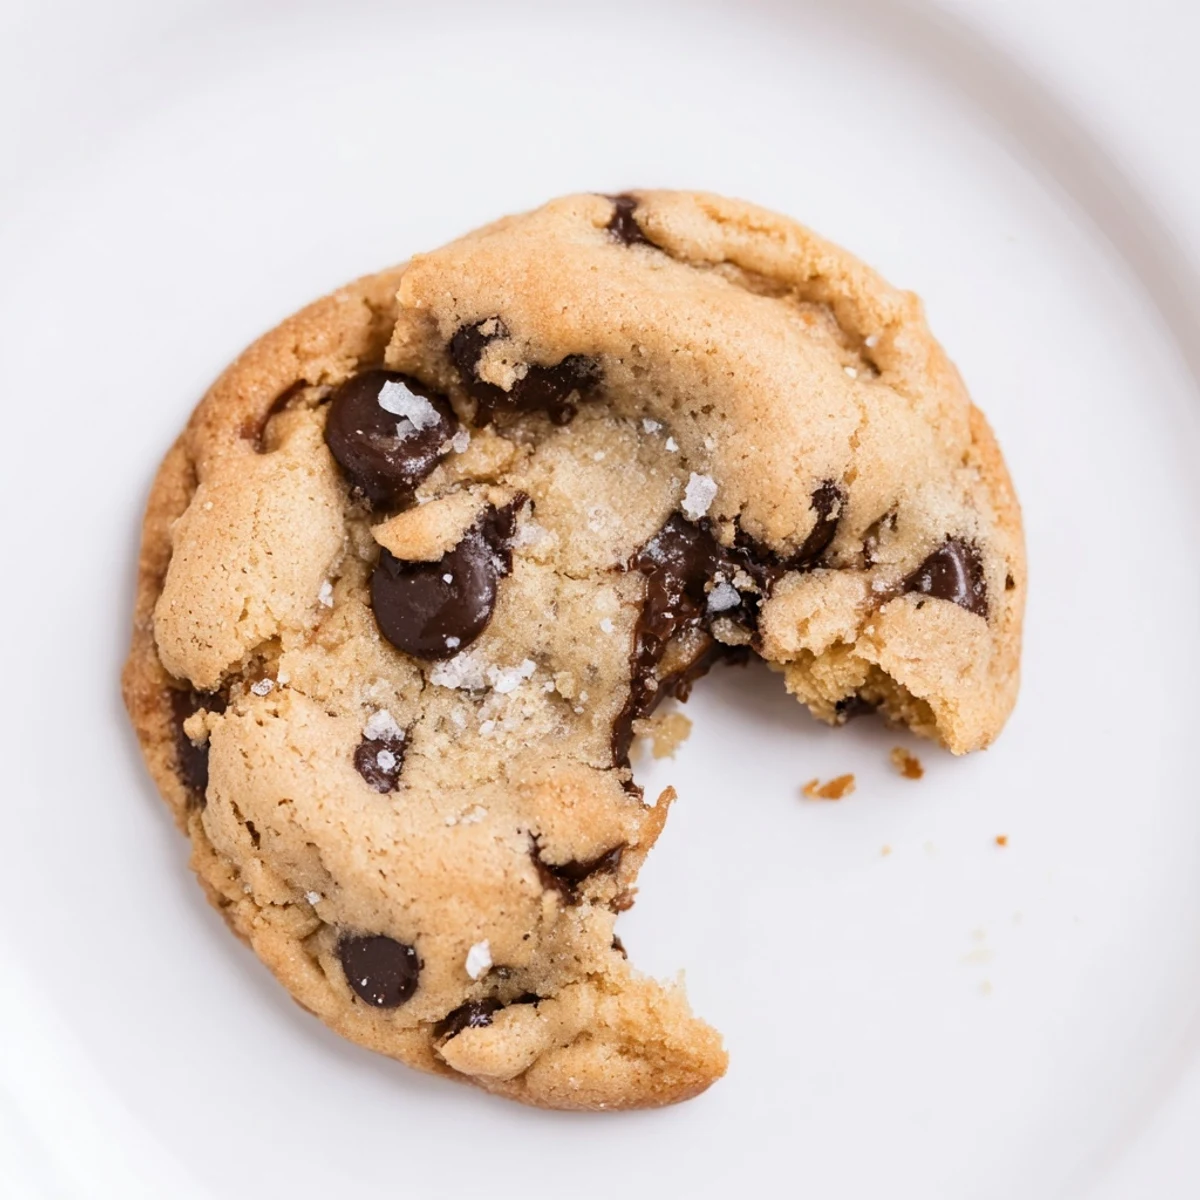 Save to Pinterest
 There is a specific kind of quiet that settles over a kitchen when a tray of warm cookies comes out of the oven and everyone instinctively reaches for one before speaking.
Choosing Your Chocolate
Semi-sweet chips are the classic choice, but I have started keeping a bag of dark chocolate chunks in the pantry for nights when I want something a little more grown up. Milk chocolate works too, especially if you are baking for kids who prefer sweeter, milder flavors. Chopped chocolate bars instead of chips create these gorgeous ragged puddles of melted chocolate that spread through the cookie in the most beautiful way.
Making Them Your Own
A handful of toasted pecans or walnuts turns this into something that feels almost bakery-worthy, adding a crunch that contrasts the soft center perfectly. A friend swears by adding a quarter teaspoon of espresso powder to the dry ingredients, claiming it makes the chocolate taste deeper without adding any coffee flavor. I tried it once and now I do it every single time without telling anyone, and they always ask what makes these cookies taste so good.
Getting the Texture Just Right
The beauty of this recipe is how forgiving it is, but a few small choices tip the texture one way or the other. If you love a thicker, softer cookie, chill the scooped dough for thirty minutes before baking so it spreads less. For thinner, crispier cookies, press the dough mounds down slightly before they go in the oven.
- Always scoop dough onto room temperature baking sheets, because warm pans cause premature spreading.
- A light sprinkle of flaky sea salt on top right after baking is a simple touch that elevates the entire batch.
- Freeze scooped dough balls in a zip-top bag for up to three months, then bake straight from frozen, adding just one or two extra minutes to the timer.
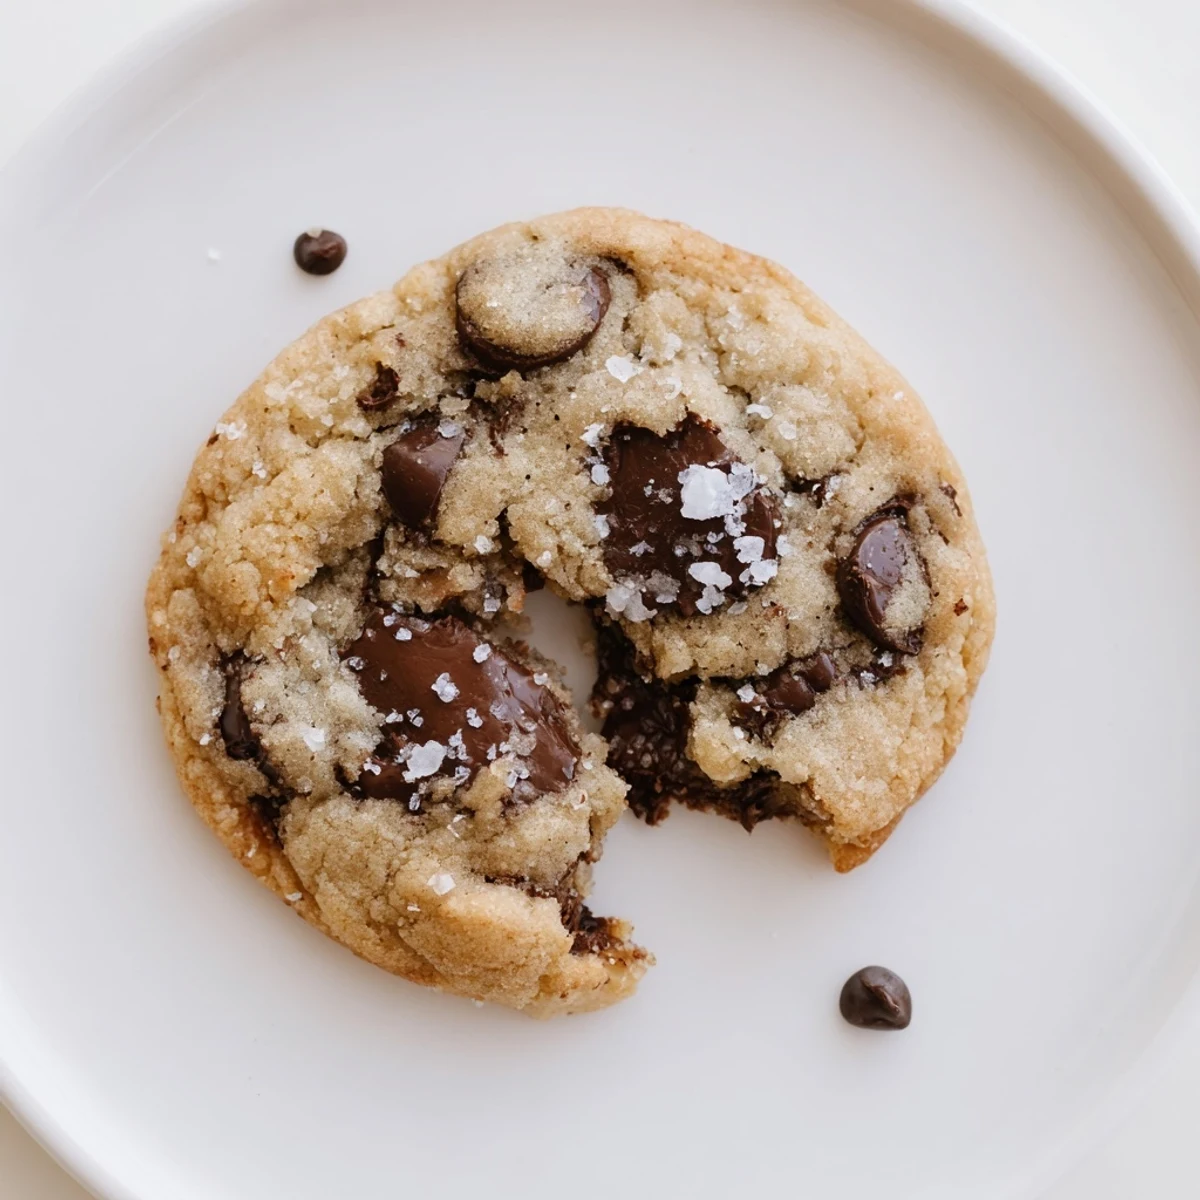 Save to Pinterest
 Some recipes become staples because they are easy, but this one earned its place because every batch feels like a small act of love shared freely. Bake them once and you will understand why the recipe card in my kitchen is stained, wrinkled, and completely irreplaceable.