 Save to Pinterest
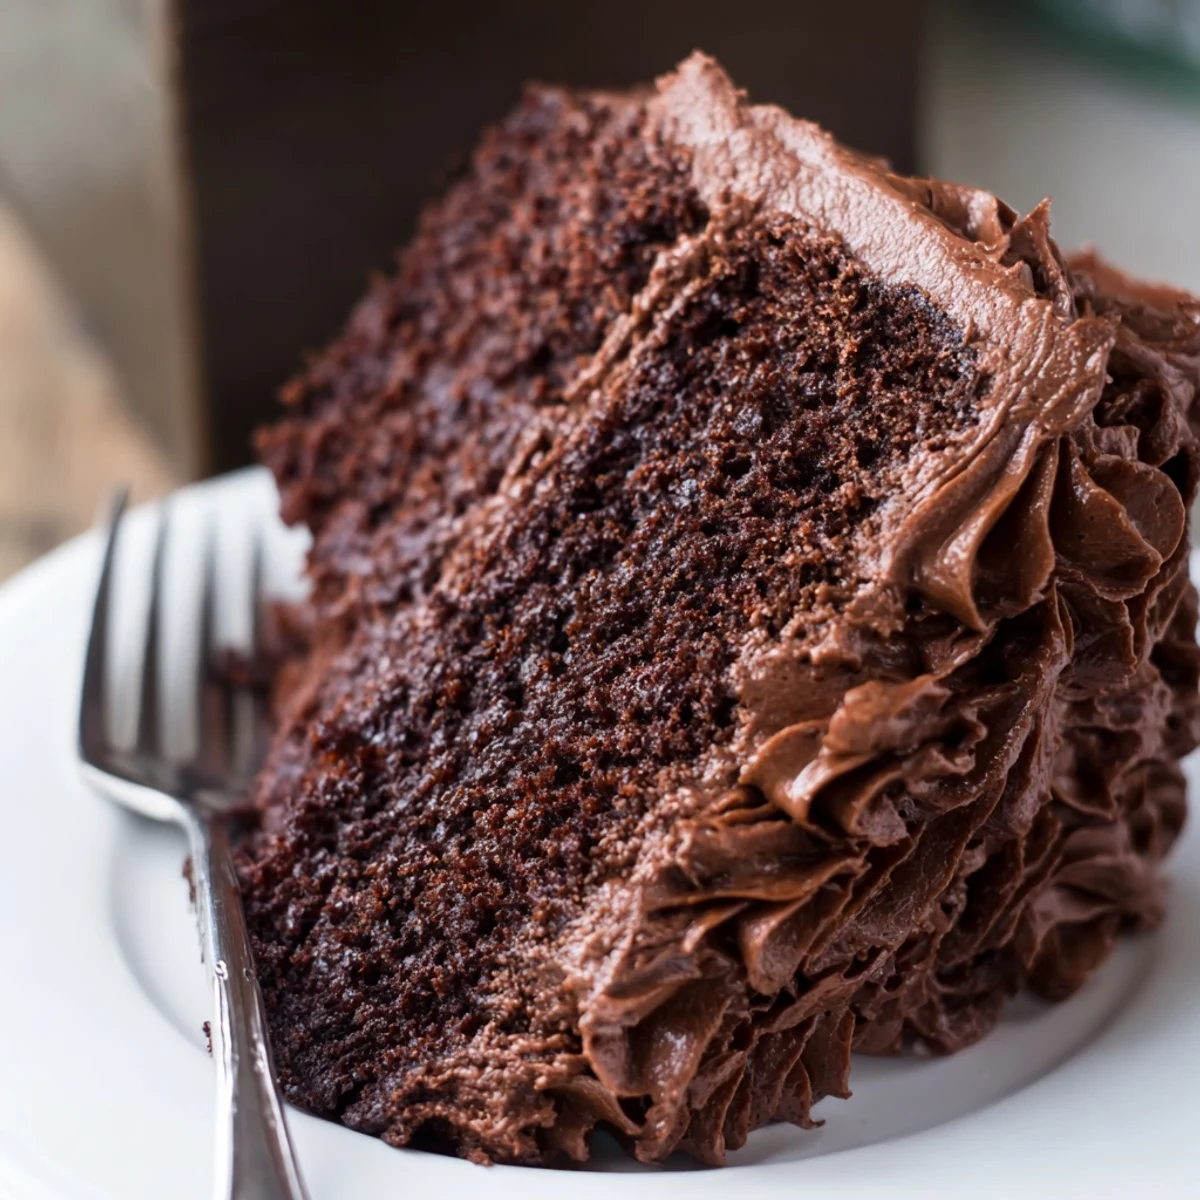
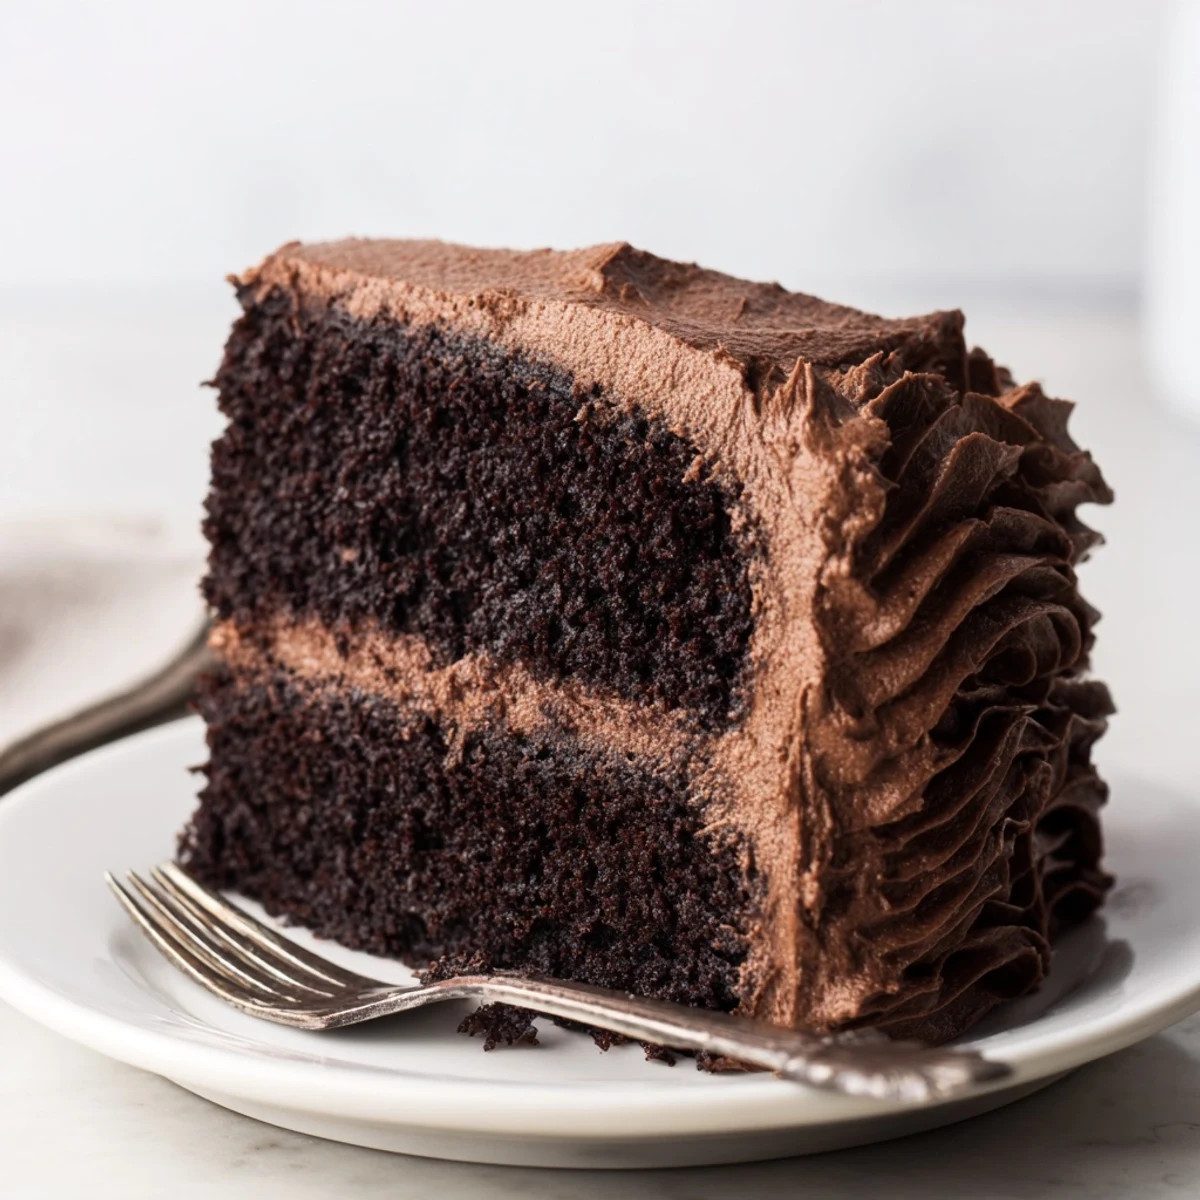
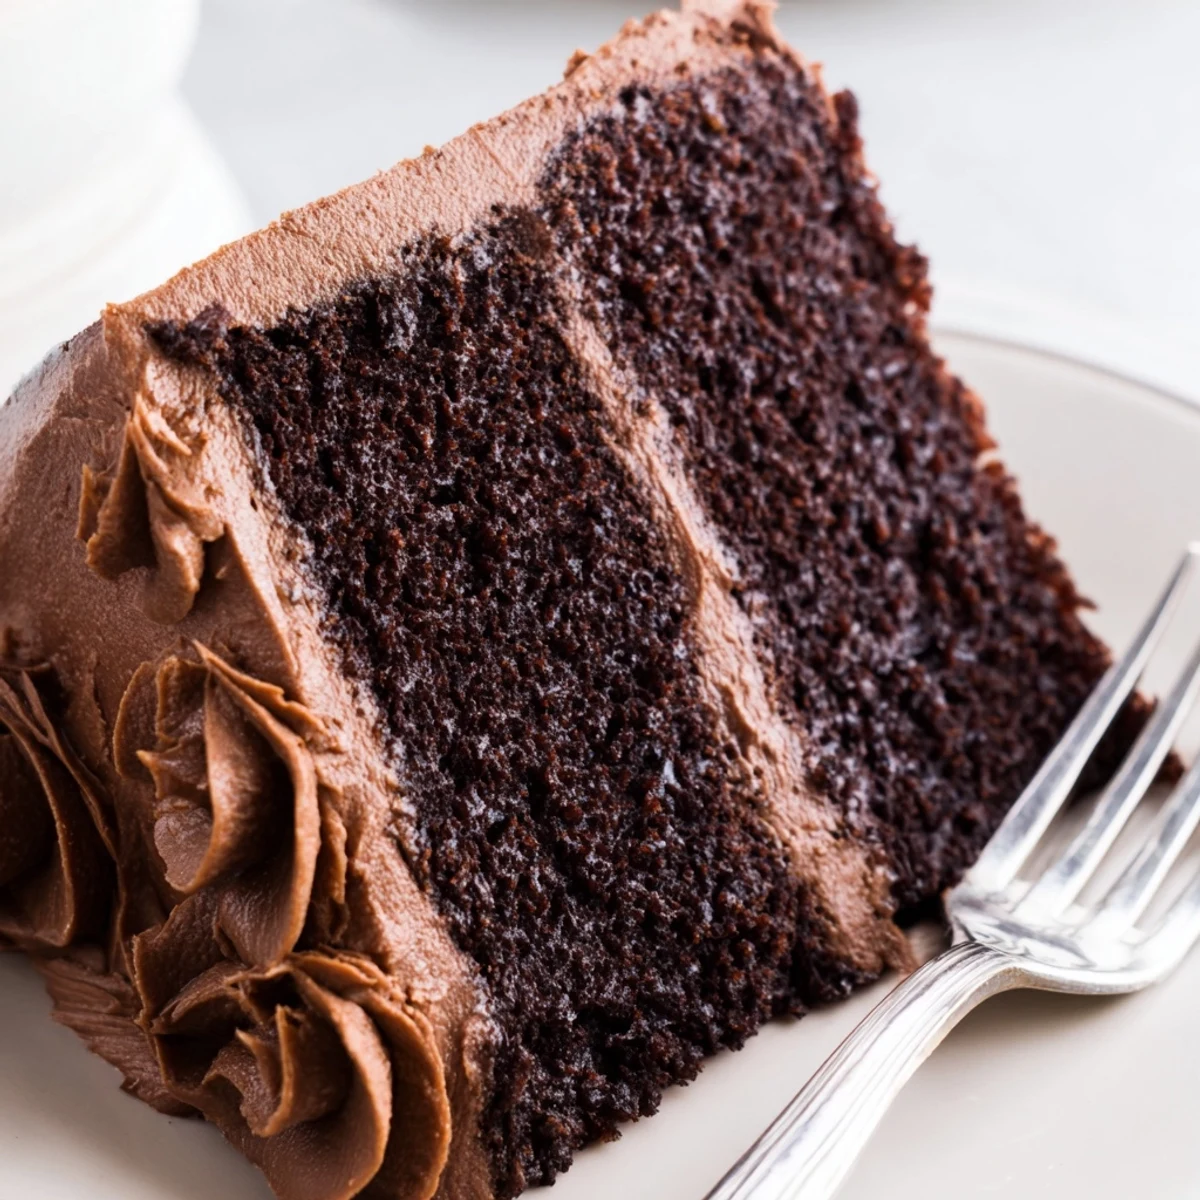
 Indulge in this rich, moist chocolate cake that delivers classic home-baked goodness. The deep chocolate flavor comes from unsweetened cocoa powder, while the boiling water creates an incredibly tender crumb. Topped with silky chocolate buttercream frosting, this decadent dessert strikes the perfect balance between sweetness and intensity.
The batter comes together quickly with basic pantry ingredients, requiring just 20 minutes of prep before baking. The resulting cake layers are perfectly moist with a fudgy texture that pairs beautifully with the creamy frosting. Ideal for birthdays, holidays, or any celebration-worthy occasion.
The boiling water trick in this recipe still catches me off guard every time. I stood in my tiny apartment kitchen watching the batter turn impossibly thin and glossy, convinced something had gone terribly wrong. My grandmother had sworn by this method though, her handwritten recipe card stained with decades of chocolate fingerprints. When those cakes emerged from the oven, dense and fudgy despite my doubts, I finally understood the magic.
Last summer, my niece requested chocolate cake for her birthday instead of the usual bakery confections. I baked three layers this time, stacking them high with swirls of chocolate frosting between each. The way she leaned over the counter, watching me spread the frosting with utter fascination, reminded me why simple homemade desserts matter. We served it slightly warm with vanilla ice cream melting into the chocolate, and honestly, that might be the only way to eat it now.
Ingredients
- All-purpose flour: The foundation that gives structure while keeping the crumb tender
- Granulated sugar: Sweetens and helps create that tempting crackly crust
- Unsweetened cocoa powder: Use Dutch-processed for deeper color and mellower flavor
- Baking powder and soda: Both are essential for proper lift and texture
- Salt: A crucial pinch that intensifies the chocolate flavor
- Eggs: Room temperature eggs incorporate better into the batter
- Whole milk: Adds richness though any milk works in a pinch
- Vegetable oil: Keeps the cake moist far longer than butter would
- Pure vanilla extract: Never skimp here, it balances the chocolate perfectly
- Boiling water: The secret ingredient that blooms the cocoa and creates magic
- Unsalted butter: Softened thoroughly makes the frosting silky smooth
- Powdered sugar: Sift it first or risk lumpy frosting every single time
Instructions
- Prep your pans and oven:
- Preheat oven to 175°C (350°F). Grease and line two 20 cm (8-inch) round cake pans with parchment paper for easy release later.
- Combine the dry ingredients:
- In a large bowl, sift together flour, sugar, cocoa powder, baking powder, baking soda, and salt to aerate everything evenly.
- Add the wet ingredients:
- Add eggs, milk, oil, and vanilla. Beat on medium speed until completely smooth, about two minutes.
- Add the boiling water:
- Carefully pour in boiling water while mixing slowly. The batter will become thin and glossy, which is exactly right.
- Bake until perfect:
- Divide batter between prepared pans and bake for 30 to 35 minutes until a toothpick comes out clean.
- Cool completely:
- Let cakes rest in pans for 10 minutes before turning onto wire racks. Cool completely before frosting or it will melt everywhere.
- Make the frosting:
- Beat butter until creamy. Gradually sift in powdered sugar and cocoa, then add vanilla and salt.
- Adjust the consistency:
- Add milk one tablespoon at a time until frosting reaches spreadable consistency. You might not need the full amount.
- Assemble the cake:
- Place one cake layer on your serving plate. Spread frosting generously over the top, then add the second layer.
- Frost and serve:
- Frost the top and sides smoothly with a spatula. Decorate as desired, slice, and serve immediately.
 Save to Pinterest
 My friend Sarah called me at midnight once, panicked because her cake layers had sunk in the middle. Turns out she had opened the oven door too early to check on them, something I had done myself countless times before learning better. We laughed about her chocolate soup and ordered pizza instead, but I still think about how forgiving this recipe is compared to others.
Making It Ahead
The unfrosted cake layers freeze beautifully for up to three months. Wrap them tightly in plastic wrap then foil, and thaw overnight in the refrigerator before frosting. The frosting can be made three days ahead and stored in an airtight container.
Serving Suggestions
This cake needs nothing more than a cold glass of milk, though fresh berries or a scoop of vanilla ice cream never hurt anyone. I have also served it alongside strong coffee after dinner parties, where it somehow tastes even more indulgent.
Customization Ideas
Fold 100 g chocolate chips into the batter just before baking for pockets of melted chocolate. Replace some of the milk with brewed coffee to deepen the chocolate flavor even further. For a birthday version, sprinkle rainbow or chocolate sprinkles over the frosting immediately after spreading.
- Try adding 1 teaspoon instant espresso powder to the dry ingredients
- Substitute buttermilk for regular milk for extra tenderness
- Layer sliced strawberries between the cakes for a fresh contrast
 Save to Pinterest
 Simple, reliable, and deeply satisfying. This is the chocolate cake that will see you through birthdays, bad days, and every celebration in between.
Your Questions Answered
- → What makes this chocolate cake so moist?
-
The combination of boiling water added to the batter creates steam during baking, resulting in an incredibly moist and tender crumb. The oil also contributes to the moist texture, keeping the cake fresh for days.
- → Can I make this cake ahead of time?
-
Absolutely. The cake layers can be baked and wrapped in plastic for up to 2 days before frosting. You can also freeze unfrosted layers for up to 3 months. Thaw overnight at room temperature before frosting and serving.
- → What type of cocoa powder works best?
-
Unsweetened natural cocoa powder is ideal for this cake. Dutch-processed cocoa can be used, but may result in a slightly different texture. The key is using high-quality cocoa for the best chocolate flavor.
- → How should I store the finished cake?
-
Store the frosted cake in an airtight container at room temperature for up to 3 days. For longer storage, refrigerate for up to a week. Bring to room temperature before serving for the best texture and flavor.
- → Can I make this chocolate cake dairy-free?
-
Yes. Substitute the whole milk with almond, soy, or oat milk. Replace the butter in the frosting with a dairy-free alternative or vegan butter. The texture remains just as delicious and moist.
- → Why is the batter so runny after adding boiling water?
-
This is normal and intentional. The boiling water hydrates the cocoa powder fully, intensifying the chocolate flavor. The runny batter creates steam during baking, contributing to the cake's signature moistness and tender texture.