 Save to Pinterest
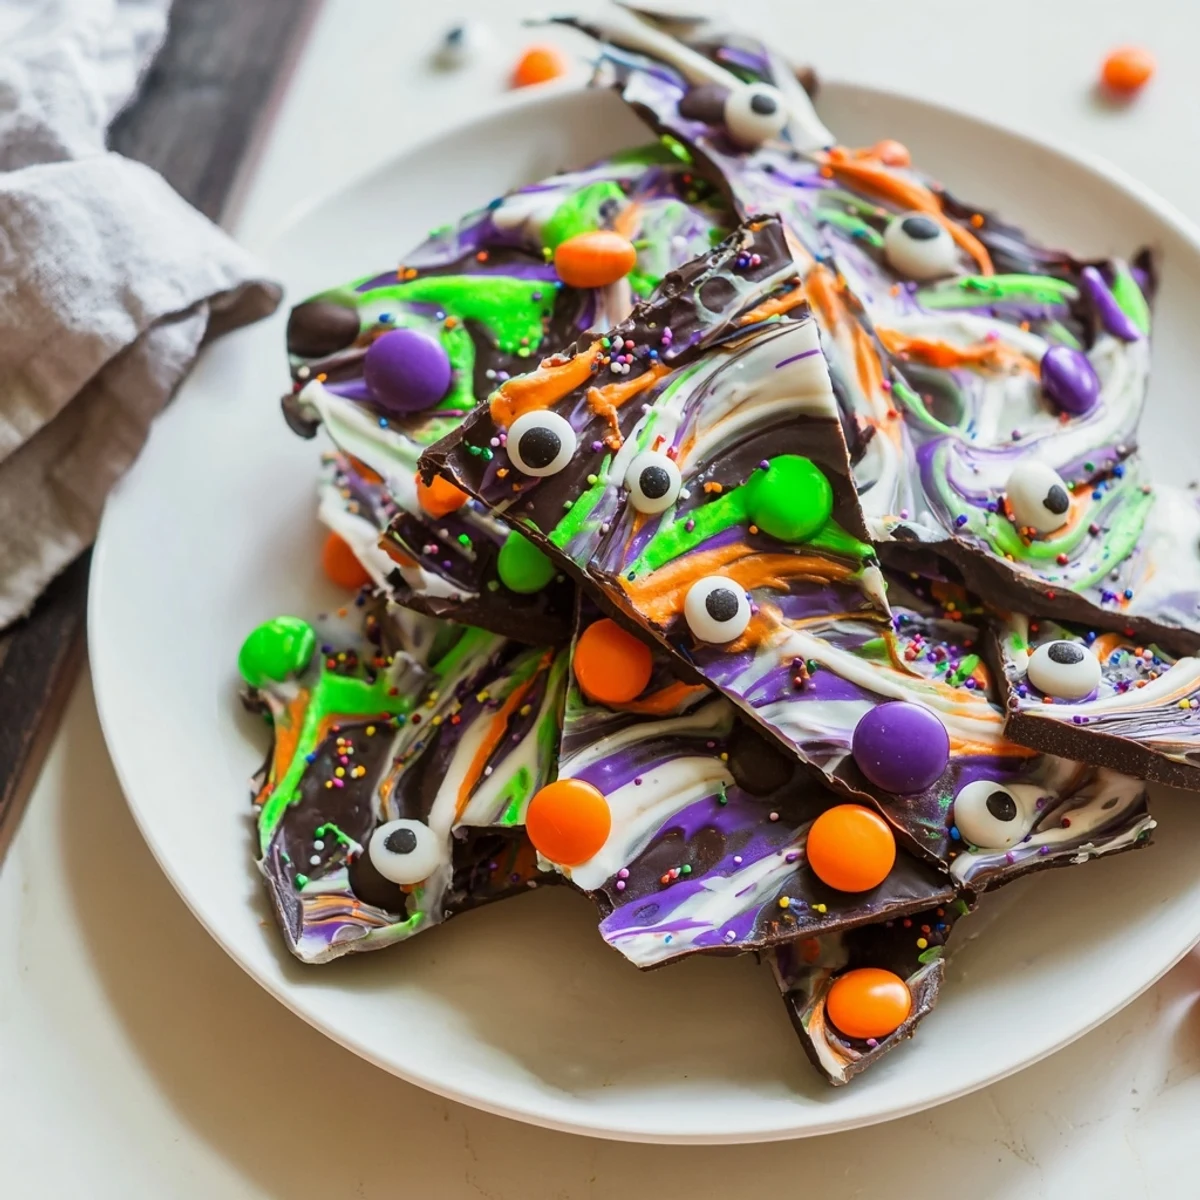
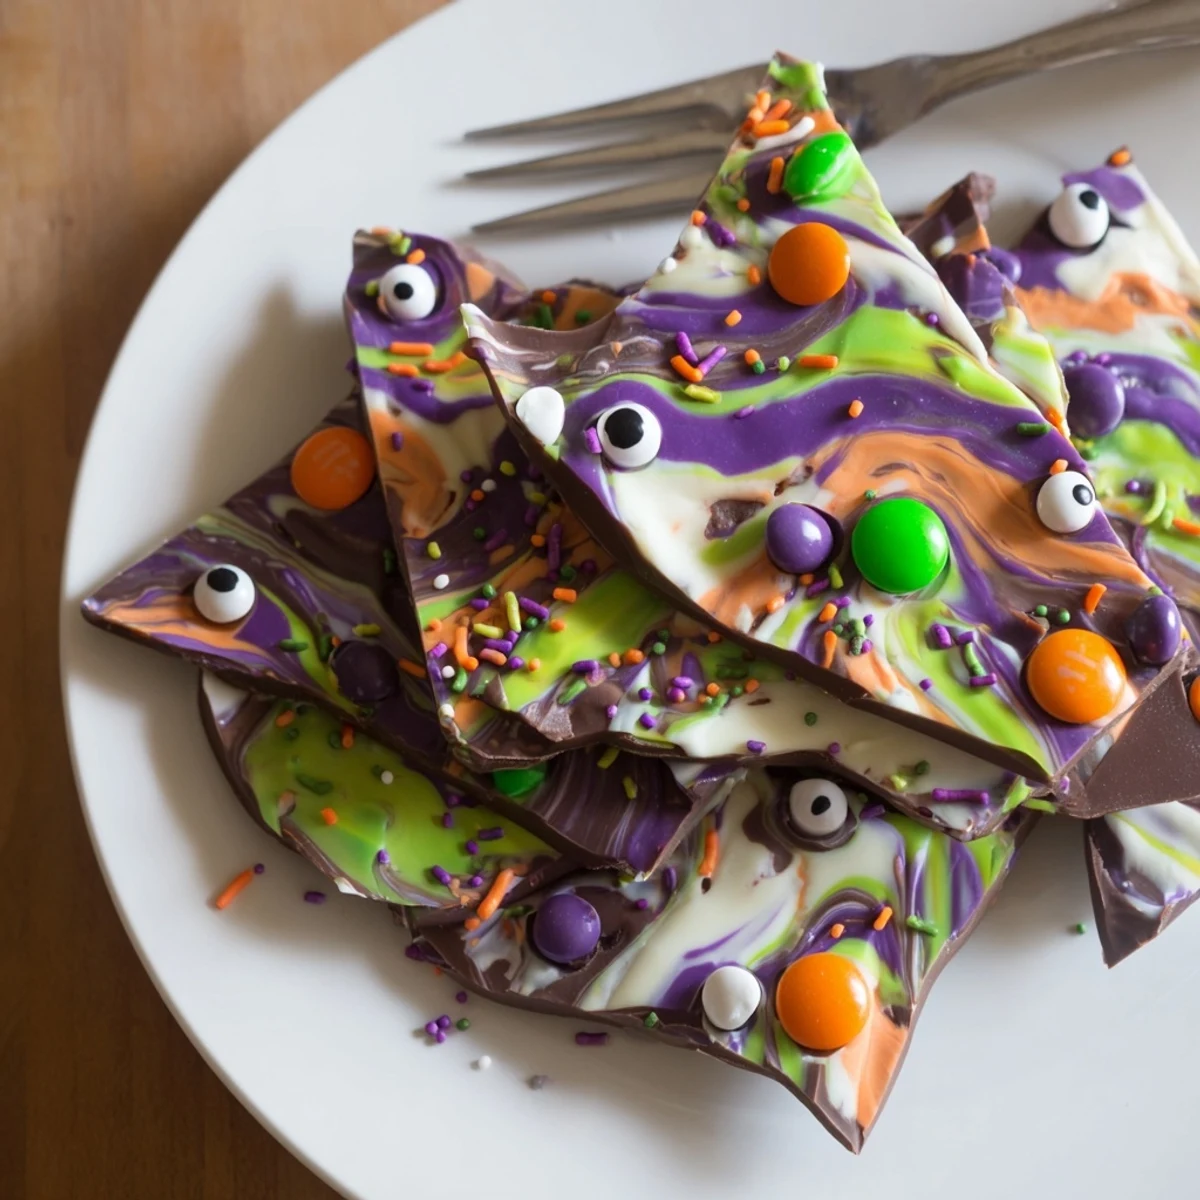
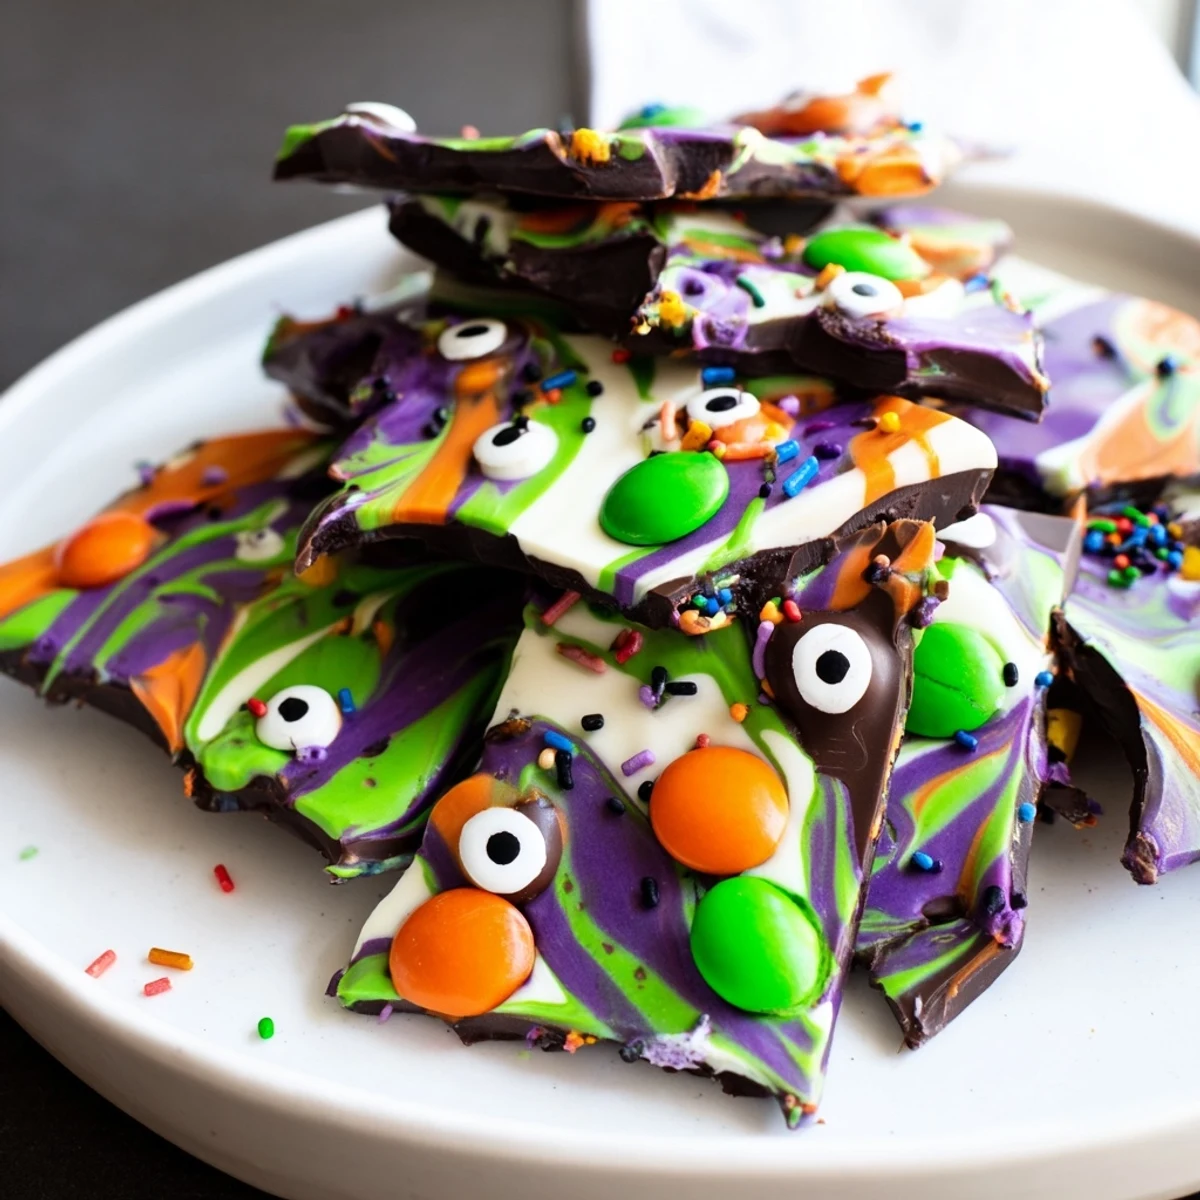
 This festive Halloween chocolate bark combines melted semisweet and white chocolate swirled together with colorful candy melts for a marbled effect. Top with candy-coated chocolates, edible candy eyes, and Halloween sprinkles for a playful treat. Simply melt, spread, swirl, decorate, and let set. The result is a crunchy, creamy chocolate confection perfect for parties, gift-giving, or celebrating the spooky season. Each colorful piece delivers rich chocolate flavor with pops of sweet candy crunch.
The kitchen counter looked like a candy laboratory explosion and I could not have been happier. My daughter stood on her step stool, already covered in more sprinkles than actually made it onto the chocolate, grinning like she had just invented magic. We were making melting witches bark for her class Halloween party, something I discovered completely by accident last year when I had too many leftover chocolate bags and a freezer full of random candy.
Last October I brought this to a neighborhood potluck and watched a six year old declare it the best thing he had ever eaten, then proceed to carefully pick off all the candy eyes and eat them first. The adults were just as bad, hovering around the platter pretending to chat while strategically positioning themselves for the next broken piece. Something about the combination of smooth chocolate and crunch makes people forget all their table manners.
Ingredients
- Semisweet chocolate chips: This forms your canvas and the dark contrast makes all those bright Halloween colors pop beautifully
- White chocolate chips: Creates those dreamy swirl patterns that look like clouds or magical mist when you marble it properly
- Colorful candy melts: Green, orange, and purple turn this into something that looks straight out of a witch cauldron
- Mini candy-coated chocolates: Little bursts of color and texture that break up the smooth chocolate perfectly
- Candy eyes: Absolutely essential because chocolate that stares back at you is infinitely more fun to eat
- Halloween sprinkles: The finishing touch that makes everything look festive and intentional
Instructions
- Prepare your workspace:
- Line a baking sheet with parchment paper, making sure to crease the corners so it stays put while you work.
- Melt the dark chocolate base:
- Microwave semisweet chips in thirty second intervals, stirring between each until completely smooth and glossy.
- Spread the foundation:
- Pour the melted chocolate onto your prepared sheet and spread to about one quarter inch thickness.
- Prepare your colors:
- Melt white chocolate and colored candy melts in separate bowls, using quick twenty second bursts to avoid seizing.
- Create the magic swirl:
- Drop spoonfuls of white and colored chocolate over the base, then drag a toothpick through to marble everything together.
- Add the spooky decorations:
- Immediately scatter candy eyes, chocolates and sprinkles while everything is still warm so they stick properly.
- Let it set completely:
- Leave at room temperature or pop in the fridge for about ten minutes until firm and breaks with a satisfying snap.
- Break into pieces:
- Use your hands to create irregular, rustic shards that look like they came from an old apothecary shop.
 Save to Pinterest
 My niece now requests this for every family gathering, Halloween or not, and has started suggesting different color schemes for various holidays. There is something deeply satisfying about breaking chocolate into jagged pieces, like you are destroying something beautiful but then you get to eat the evidence. The last batch I made disappeared so fast at work that I found the empty parchment paper in the break room trash with fingerprints all over it.
Making It Your Own
Once you get the basic technique down, the variations are absolutely endless. I have done red and green swirls for Christmas with crushed candy canes, pastels for Easter with robin eggs, and even red white and blue for the Fourth of July. The marble effect is forgiving enough that even messy attempts look artistic and intentional.
Temperature Tricks
Room temperature chocolate sets with the best snap and sheen, but if you are in a hurry or your house is particularly warm, the refrigerator works perfectly fine. Just be aware that cold chocolate can develop condensation when it warms back up, which makes the surface look cloudy and can make sprinkles weep color.
Storage Solutions
This keeps surprisingly well in an airtight container for about a week, assuming it lasts that long. Layer pieces between parchment paper so they do not stick together in a giant chocolate brick. I have also frozen leftovers for months and they thaw beautifully, though the sprinkles might lose some of their crunch.
- Avoid the refrigerator for long term storage since the temperature fluctuation causes sugar bloom
- Package individual pieces in clear bags for instant party favors or classroom treats
- Keep away from direct sunlight or the swirl patterns will start to look muddy and unappealing
 Save to Pinterest
 Watch out for those candy eyeballs staring back at you from the serving platter, they have a way of disappearing first. Happy haunting in the kitchen.
Your Questions Answered
- → How long does witches bark take to set?
-
The bark sets in about 10-15 minutes if refrigerated, or 30-45 minutes at room temperature. For faster results, place in the refrigerator until firm to the touch.
- → Can I make this bark ahead of time?
-
Yes, prepare up to 1 week in advance. Store in an airtight container at cool room temperature or refrigerate for extended freshness. Separate layers with parchment paper to prevent sticking.
- → What other chocolates work well in this bark?
-
Semisweet can be replaced with milk, dark, or even white chocolate as the base. The candy melts come in various colors, so feel free to match your Halloween party theme.
- → How do I get the best marble swirl effect?
-
Drop contrasting melted chocolates in random spoonfuls over your base, then gently drag a toothpick through the melted layers in circular or S-shaped motions. Don't over-swirl or colors will muddy.
- → What if my chocolate seizes while melting?
-
If chocolate becomes grainy or stiff, add 1 teaspoon of coconut oil or vegetable oil and stir until smooth. Always melt in short intervals and stir frequently to prevent overheating.
- → Can this be made dairy-free?
-
Yes, use dairy-free chocolate chips and vegan candy melts. Many brands now offer dairy-free alternatives, and marshmallows or fruit can replace traditional candy toppings.