 Save to Pinterest
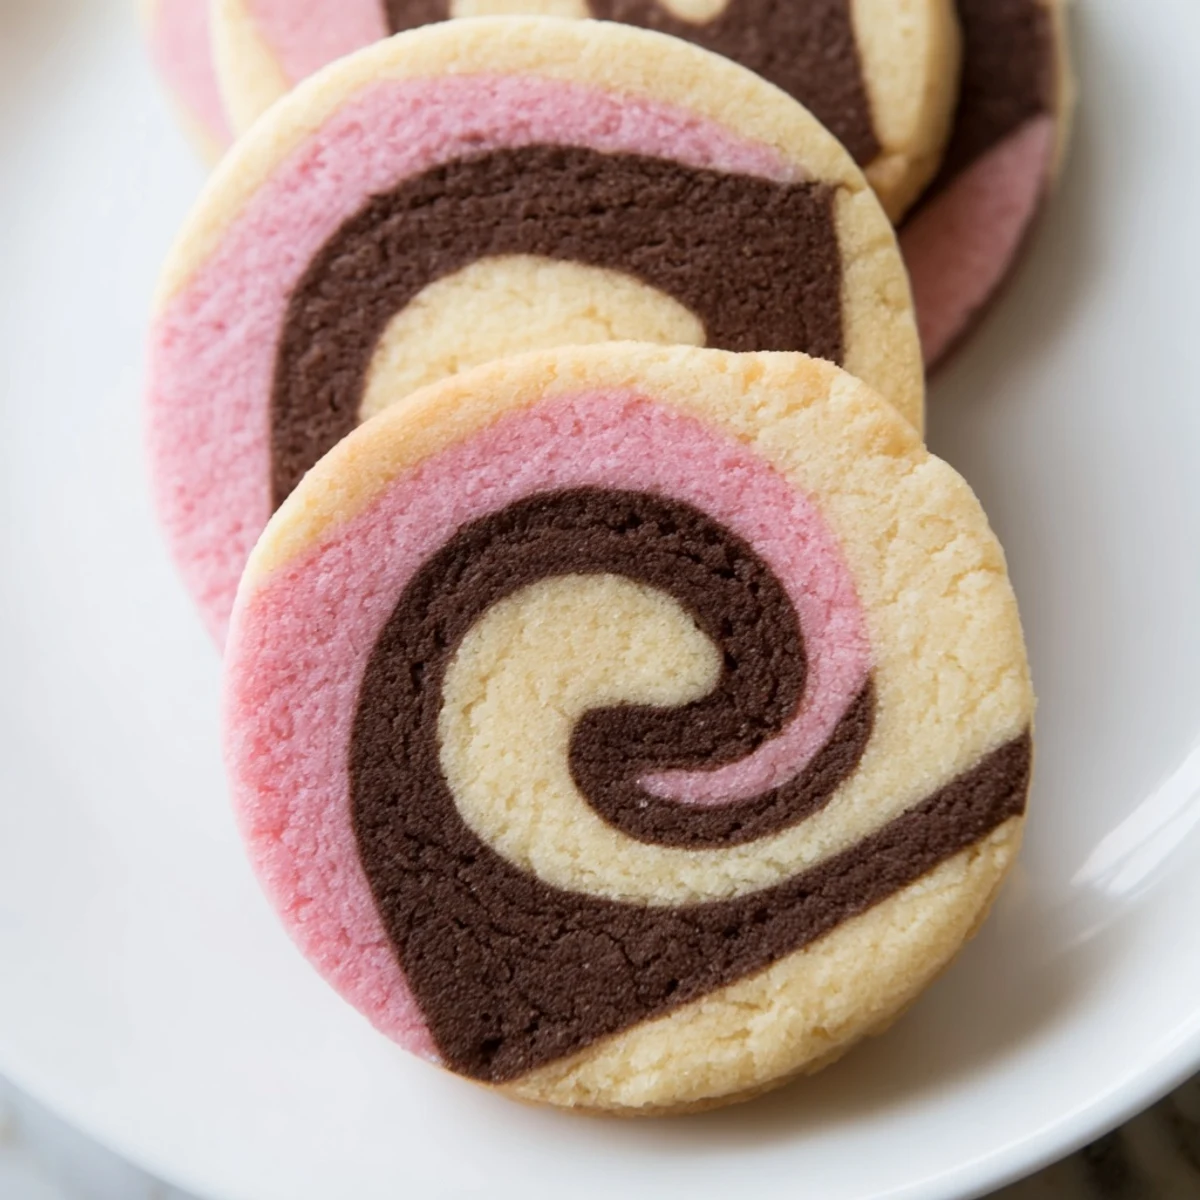
 Create stunning tri-color cookies featuring soft buttery dough layered with rich chocolate, classic vanilla, and sweet strawberry. The dough gets divided, tinted, stacked, and rolled into a log before slicing into rounds that reveal perfect spirals when baked. Proper chilling between steps ensures clean layers and sharp swirls, while the 10-12 minute bake time yields tender edges with golden highlights.
Last summer my niece spotted these in a bakery window and begged me to recreate them at home. We spent a rainy Saturday afternoon covered in flour, with pink dough smudged on our cheeks and chocolate fingerprints everywhere. The moment she saw those first slices reveal their perfect spirals, her face lit up like nothing I've ever seen. Now they're the first thing she asks for whenever she visits.
I brought a batch to a cookie exchange last December and watched them disappear within minutes. My friend Sarah actually chased me down the driveway for the recipe. There's something about those pretty swirls that makes people believe you spent hours on them, even though the real secret is just patience between steps.
Ingredients
- All-purpose flour: The foundation that holds everything together, so measure carefully for the right texture
- Baking powder: Just enough to give these cookies a subtle lift without losing their dense, buttery bite
- Salt: A small amount that balances the sweetness and makes all three flavors sing
- Unsalted butter: Softened to room temperature so it creams properly into the sugar for that melt-in-your-mouth feel
- Granulated sugar: Creates the crisp edges while keeping centers tender and chewy
- Large egg: Binds the dough and adds richness that you'll notice in every bite
- Vanilla extract: Use the good stuff here since the vanilla layer really shines through
- Unsweetened cocoa powder: Gives the chocolate layer deep flavor without making it too sweet
- Freeze-dried strawberry powder: Real strawberry flavor instead of artificial, though gelatin powder works in a pinch
Instructions
- Whisk the dry foundation:
- Combine flour, baking powder, and salt in a medium bowl, then set it aside while you prep the wet ingredients
- Cream butter and sugar:
- Beat until the mixture turns pale and fluffy, which usually takes about 3 minutes of serious mixing
- Add egg and vanilla:
- Crack the egg in, pour in the vanilla, and mix until everything looks smooth and combined
- Bring it all together:
- Gradually incorporate the flour mixture, stopping as soon as a dough forms to avoid tough cookies
- Divide into thirds:
- Separate the dough into three equal portions, eyeballing it carefully so each layer ends up the same size
- Make the chocolate layer:
- Mix cocoa powder into one portion until the color is evenly distributed throughout the dough
- Create the strawberry layer:
- Blend strawberry powder into the second portion, adding a drop of pink food coloring if you want that extra pop
- Keep vanilla classic:
- Leave the third portion as is for that pure, simple vanilla flavor everyone recognizes
- Roll and chill:
- Shape each portion into equal rectangles between parchment paper and refrigerate until firm, about 20 to 30 minutes
- Stack your layers:
- Place chocolate down first, then vanilla, then strawberry, pressing gently so they stick together without squishing
- Form the spiral:
- Tightly roll the stack from the long edge into a log, wrapping it in plastic wrap before chilling for at least an hour
- Prep your oven:
- Heat to 350°F with parchment paper ready on your baking sheets
- Slice and bake:
- Cut the log into quarter-inch rounds and bake for 10 to 12 minutes until edges barely turn golden
- Cool completely:
- Let them rest on the baking sheet for 5 minutes before moving to a wire rack to finish cooling
 Save to Pinterest
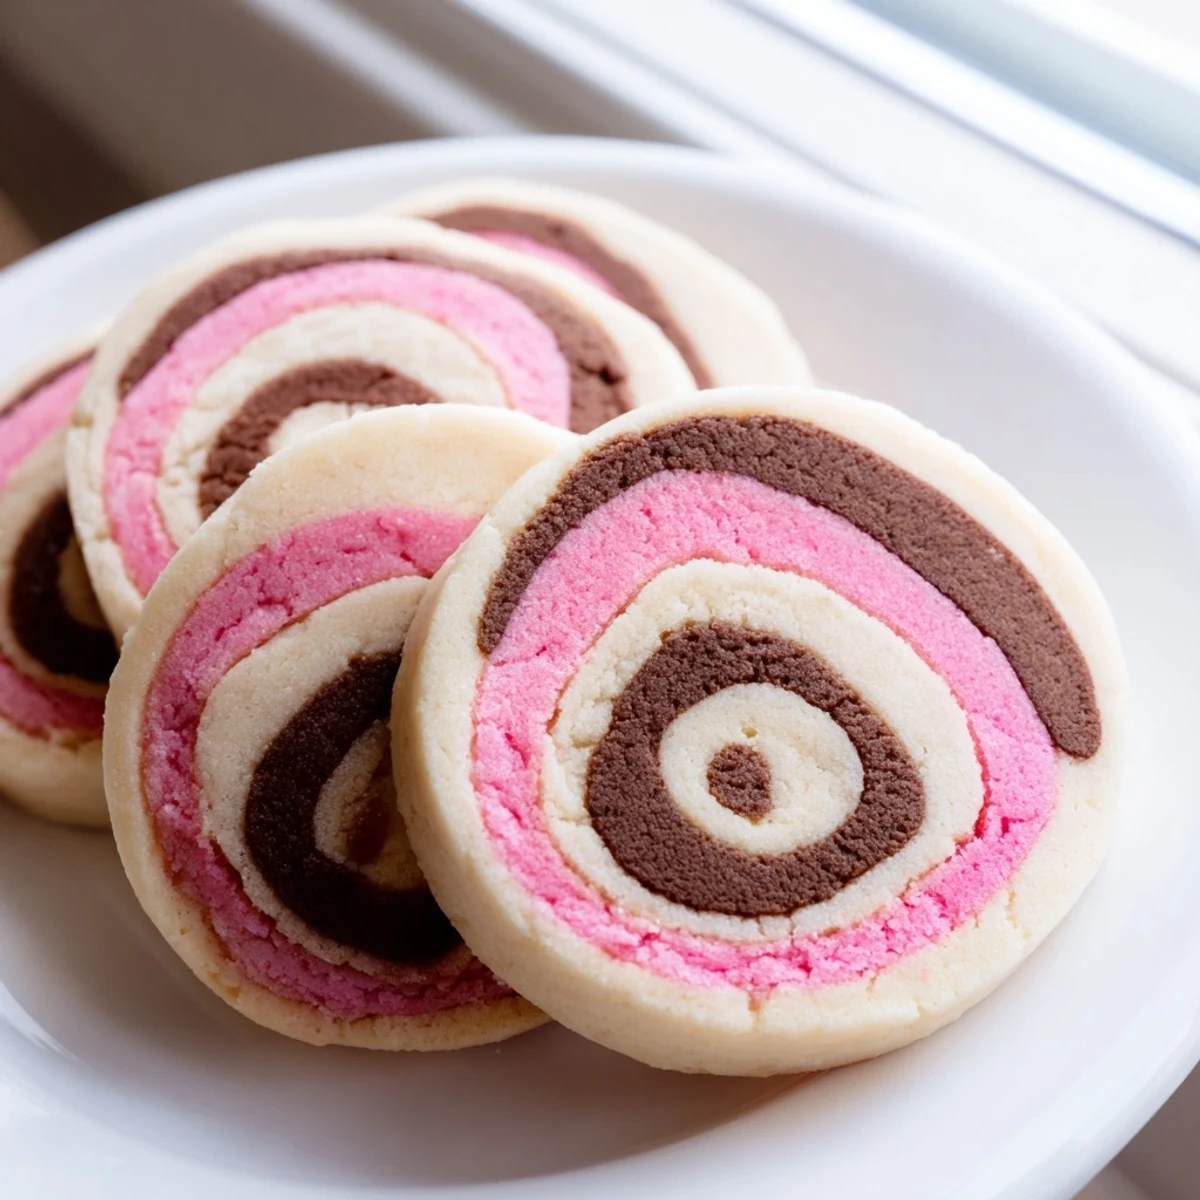
 My mom kept a log of this dough in her freezer throughout my childhood, slicing off just enough for after-school treats. There was something magical about watching those spirals emerge from the oven, transforming from a simple slice of dough into something that looked almost too pretty to eat. Now whenever I smell butter and vanilla baking together, I'm right back in her kitchen.
Getting the Perfect Swirl
The trickiest part is getting those layers to roll without squishing or separating. I learned to press the layers together firmly but gently, almost like I'm tucking someone into bed. If the dough starts getting too soft while you work, just pop everything back in the fridge for 10 minutes. It's better to work slowly than to rush and end up with muddy swirls.
Flavor Variations
Once you master the basic technique, you can swap out flavors endlessly. Raspberry powder instead of strawberry gives a tart twist. Try adding orange zest to the vanilla layer or using dark cocoa powder for a more intense chocolate layer. My niece loves when I do mint extract with green coloring instead of strawberry for a holidays version.
Making These Ahead
The dough logs freeze beautifully for up to three months, wrapped tightly in plastic and then foil. I always keep one stashed away for unexpected guests or sudden cookie cravings. Just let it thaw in the fridge for an hour before slicing and baking.
- Double-wrap the dough to prevent freezer burn and off-flavors
- Label each log with the date so you use the oldest ones first
- You can bake straight from frozen, just add 1 to 2 minutes to the baking time
 Save to Pinterest
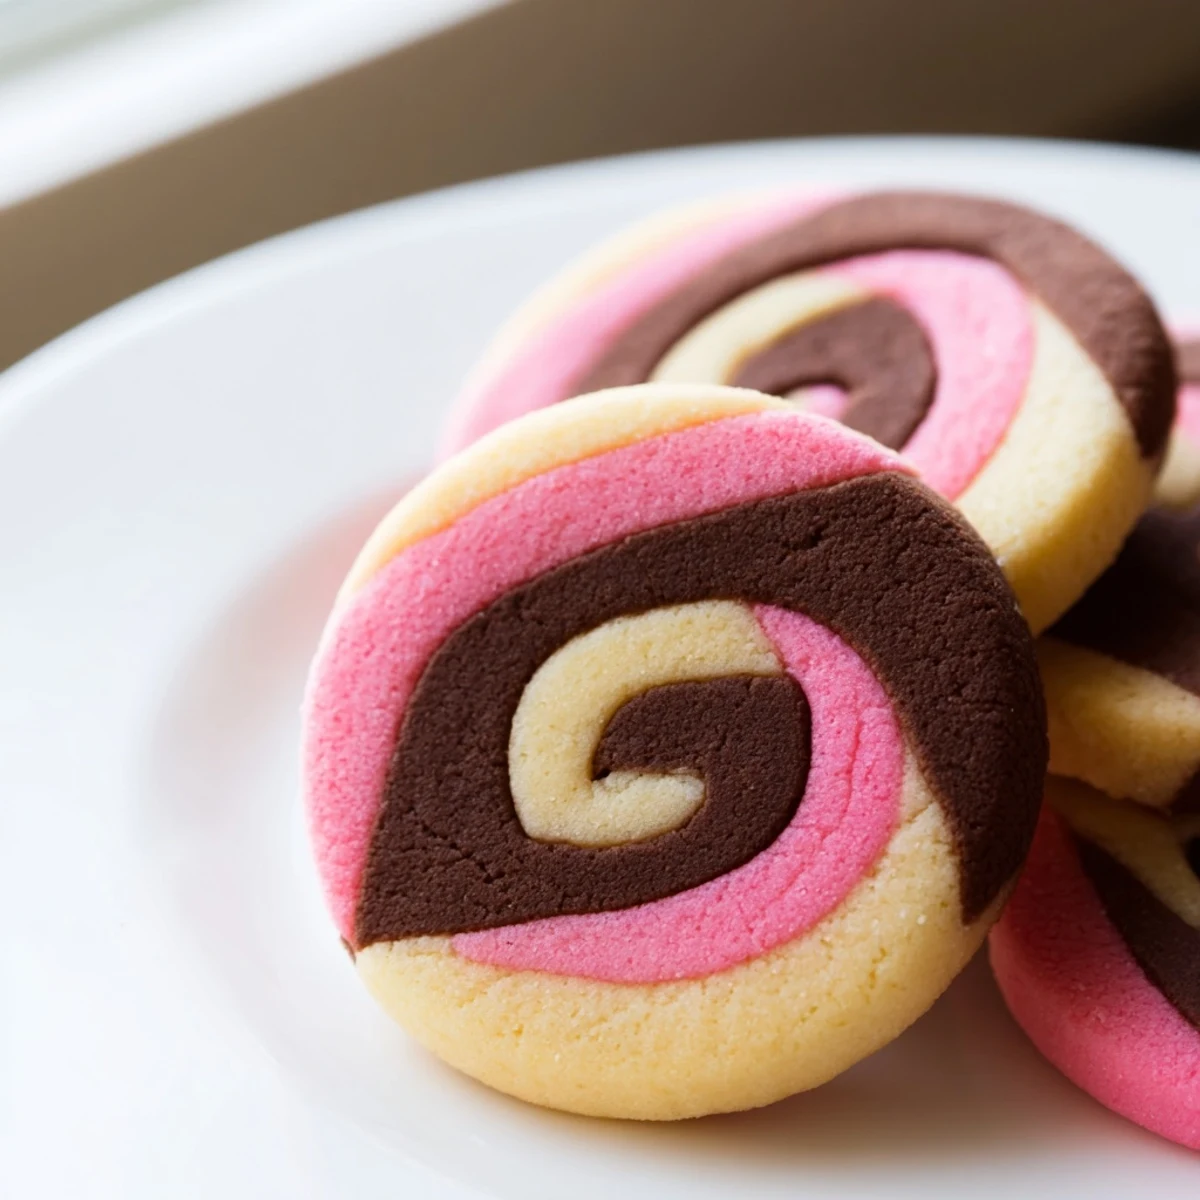
 There's something deeply satisfying about pulling a tray of these from the oven and seeing those swirls looking exactly as planned. They're the kind of cookie that makes people pause, smile, and ask for the story behind them.
Your Questions Answered
- → Why is chilling the dough so important?
-
Chilling firms the buttery dough, making it easier to roll into thin layers without sticking. The second chilling after stacking ensures the layers press together neatly and hold their shape when sliced, creating clean spirals rather than smudged colors.
- → Can I use fresh strawberries instead of powder?
-
Fresh strawberries contain too much moisture for cookie dough and would alter the texture. Freeze-dried strawberry powder provides concentrated flavor without adding liquid, while strawberry gelatin powder offers a similar effect with subtle sweetness.
- → How should I store these cookies?
-
Keep the cooled cookies in an airtight container at room temperature for up to one week. Place parchment paper between layers if stacking to prevent the colorful swirls from sticking together or transferring color.
- → What's the best way to get clean slices?
-
Use a sharp knife and wipe the blade clean between slices. A gentle sawing motion works better than pressing down hard. If the log becomes too soft while slicing, return it to the refrigerator for 15-20 minutes to firm up again.
- → Can I make the dough ahead of time?
-
The prepared dough log can be wrapped tightly in plastic and frozen for up to 3 months. Thaw in the refrigerator overnight before slicing and baking. You can also keep the chilled log in the refrigerator for 2-3 days before baking.
- → Why do my swirls look messy?
-
Messy swirls usually happen when dough layers aren't evenly sized or properly chilled before stacking. Roll each portion to matching dimensions and ensure they're thoroughly cold. Rolling too loosely or unevenly can also cause spirals to gap or blur during baking.