 Save to Pinterest
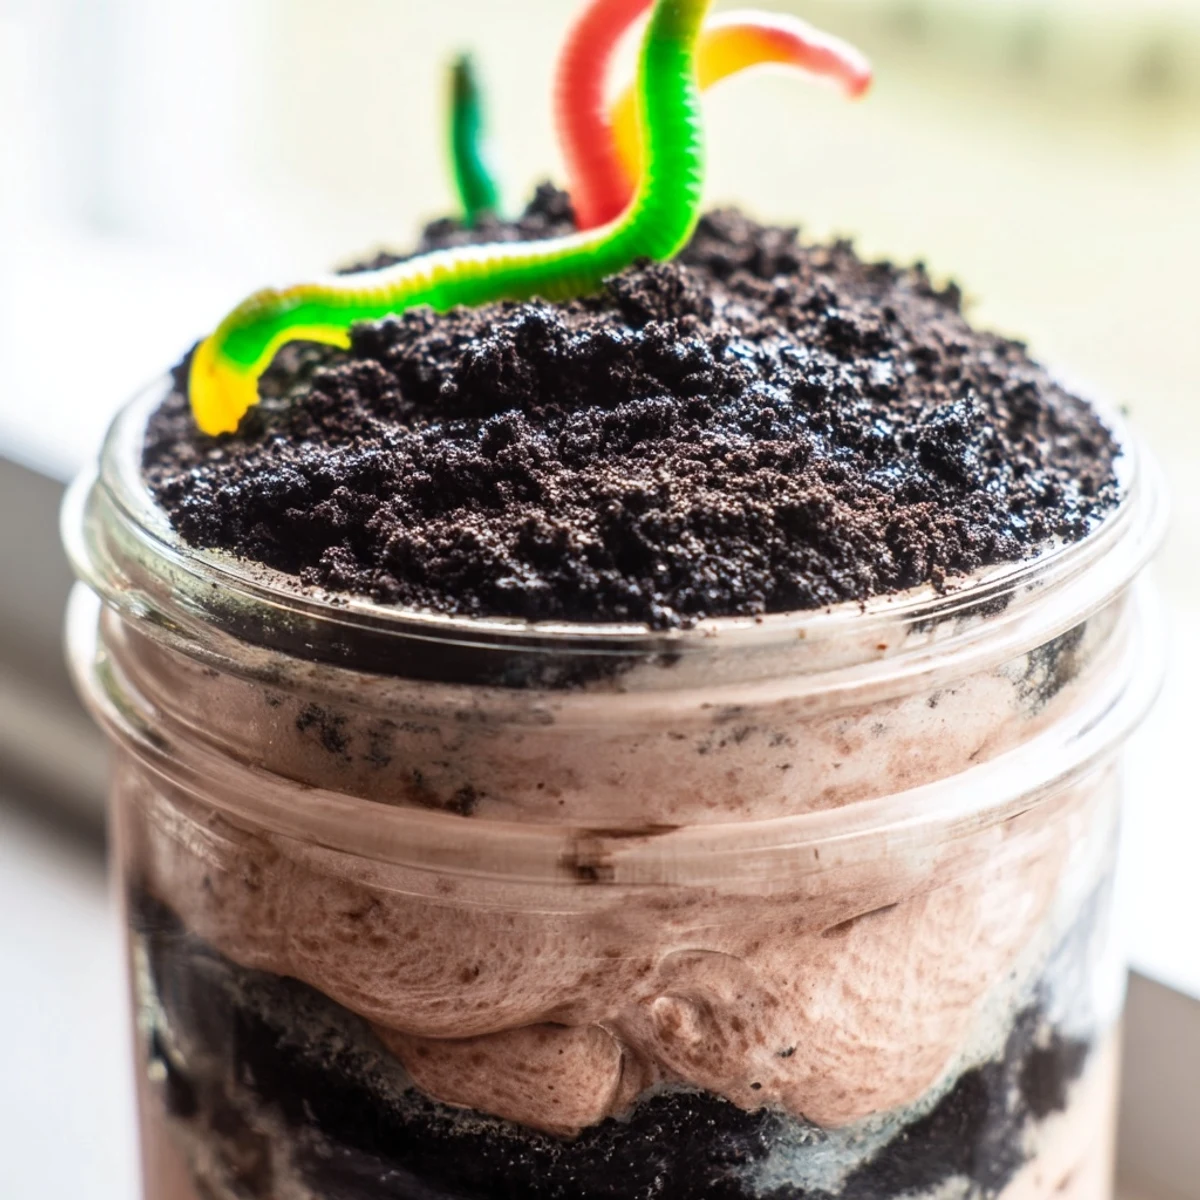
 This whimsical dessert combines layers of smooth chocolate pudding with finely crushed sandwich cookies to create a realistic dirt effect. The no-bake preparation takes just 20 minutes, making it ideal for last-minute gatherings and children's celebrations.
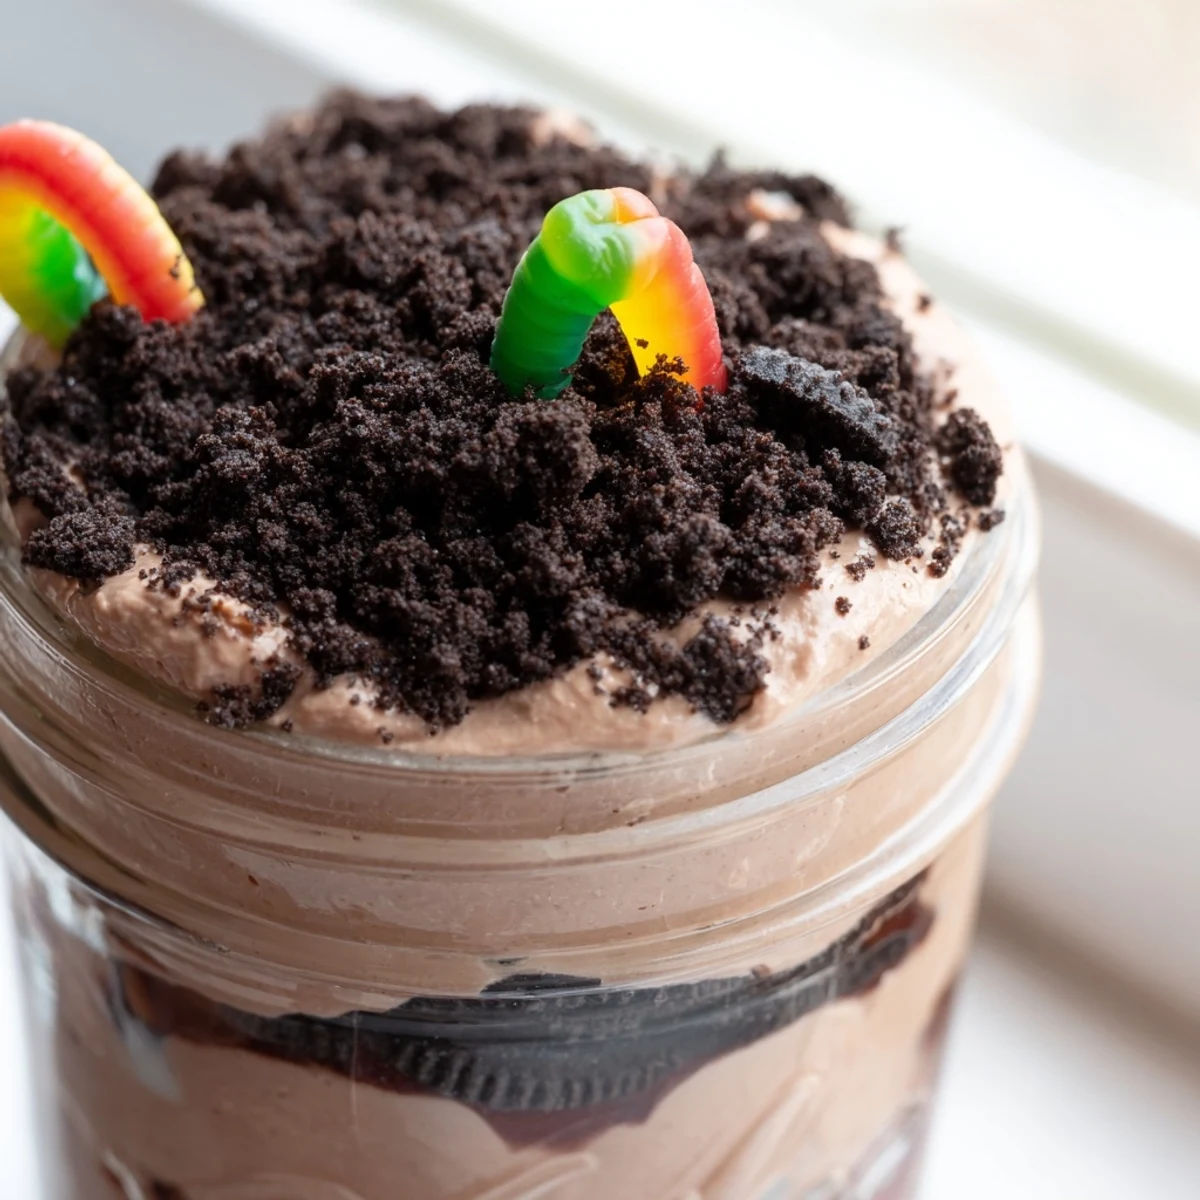
Each serving cup features alternating layers of creamy chocolate mixture and cookie crumbs, finished with gummy worms peeking through the top. The texture contrasts the silky pudding against the crunchy cookie soil, while cold milk and whipped topping create a light, mousse-like consistency.
Chilling for at least one hour allows the flavors to meld and the pudding to set properly. Serve in clear glasses or flower pots for maximum visual appeal, or customize with gluten-free cookies to accommodate dietary needs.
I brought these to my daughter's classroom birthday party and watched a room full of first graders simultaneously lose their minds over eating dirt. The best part was when one suspiciously quiet boy whispered to me that he couldn't believe grownups were actually letting them do this. Now I make them whenever we need instant joy at the table.
My mom used to make this for our family reunions in those cheap plastic flower pots from the hardware store, complete with artificial flowers sticking out. I remember being six years old and feeling like I was getting away with something because dessert looked exactly like the garden I was supposed to be weeding.
Ingredients
- Instant chocolate pudding mix: The shortcut that makes this dessert possible on a weeknight when youre already tired
- Cold milk: Use it straight from the fridge because cold milk helps the pudding set up faster
- Whipped topping: Fold it in gently so you dont knock all the air out and end up with dense pudding instead of clouds
- Chocolate sandwich cookies: The more thoroughly crushed, the more authentic your dirt will look
- Gummy worms: Tuck them in at different angles so some look like theyre escaping and others are diving deeper in
Instructions
- Make the pudding base:
- Whisk the pudding mix and cold milk in a large bowl for about 2 minutes until it starts to thicken up nicely.
- Add the clouds:
- Gently fold in the whipped topping with a spatula until everything is smooth and no white streaks remain.
- Create the dirt:
- Crush those cookies until theyre fine crumbs either in a food processor or the old-fashioned way with a zip-top bag and some pent-up aggression.
- Start layering:
- Spoon some cookie crumbs into the bottoms of your serving cups then add a layer of that chocolate pudding mixture.
- Build it up:
- Repeat the layers ending with a thick layer of crumbs on top so it looks like fresh dark soil.
- Add the life:
- Push gummy worms into the dirt at different angles letting some peek out and others nearly disappear.
- Chill out:
- Refrigerate for at least an hour so everything settles and the flavors meld together.
 Save to Pinterest
 Last summer I set these out on the patio table during a barbecue and watched my father-in-law eye them suspiciously for ten minutes before finally asking if anyone was actually going to eat the flower pot. When I told him to dig in he looked at me like I might be pranking him but then proceeded to eat two whole cups.
Serving Vessels That Work
Ive used everything from mason jars to wine glasses to those clear plastic cups you get at parties. The trick is using something clear so everyone can see those beautiful layers before they dig in. Flower pots are classic but honestly they can be heavy and hard to transport.
Making It Extra
Sometimes I beat together cream cheese and powdered sugar to make a thin layer between the cookies and pudding. It adds this tangy creaminess that cuts through all that sweet chocolate. Just dont tell the kids its there or they might think youre ruining the dirt.
Presentation Ideas
The flower pot presentation with artificial flowers is adorable but honestly a little extra for most Tuesday nights. Simple clear glasses let the layers shine and still look impressive.
- Tuck a gummy worm so just the tail is showing at the rim
- Crush some cookies into larger pebbles to create texture variation
- Set out a small shovel with the cups for full effect
 Save to Pinterest
 Theres something about watching adults get excited over eating dirt that never gets old. Make these soon and watch what happens when you tell people whats for dessert.
Your Questions Answered
- → How long does dirt pudding need to chill?
-
Refrigerate for at least one hour before serving to allow the pudding to set and the cookie crumbs to soften slightly. This creates the ideal texture contrast between the creamy layers and crunchy topping.
- → Can I make dirt pudding ahead of time?
-
Yes, prepare up to 24 hours in advance and store covered in the refrigerator. The cookie crumbs may soften over time, so add the final dirt layer and gummy worms closer to serving time for the best presentation.
- → What can I use instead of gummy worms?
-
Substitute with any gummy candy such as bugs, snakes, or bears. For a non-candy option, decorate with chocolate rocks, edible flowers, or fresh berries arranged to look like plants growing from the dirt.
- → How do I crush the cookies for the dirt?
-
Place cookies in a zip-top bag and crush with a rolling pin, or pulse in a food processor until fine crumbs form. Aim for a texture that resembles soil—some slightly larger pieces add realistic variation.
- → Can I use homemade pudding instead of instant?
-
Absolutely. Cook chocolate pudding from scratch using cocoa powder, sugar, and cornstarch, then cool completely before folding in whipped topping. This yields a richer flavor, though it requires additional cooking and cooling time.
- → Is dirt pudding suitable for large crowds?
-
Perfect for parties—easily scale the recipe and assemble in a large trifle dish instead of individual cups. Guests can spoon out portions, and the layered presentation creates an impressive centerpiece.