 Save to Pinterest
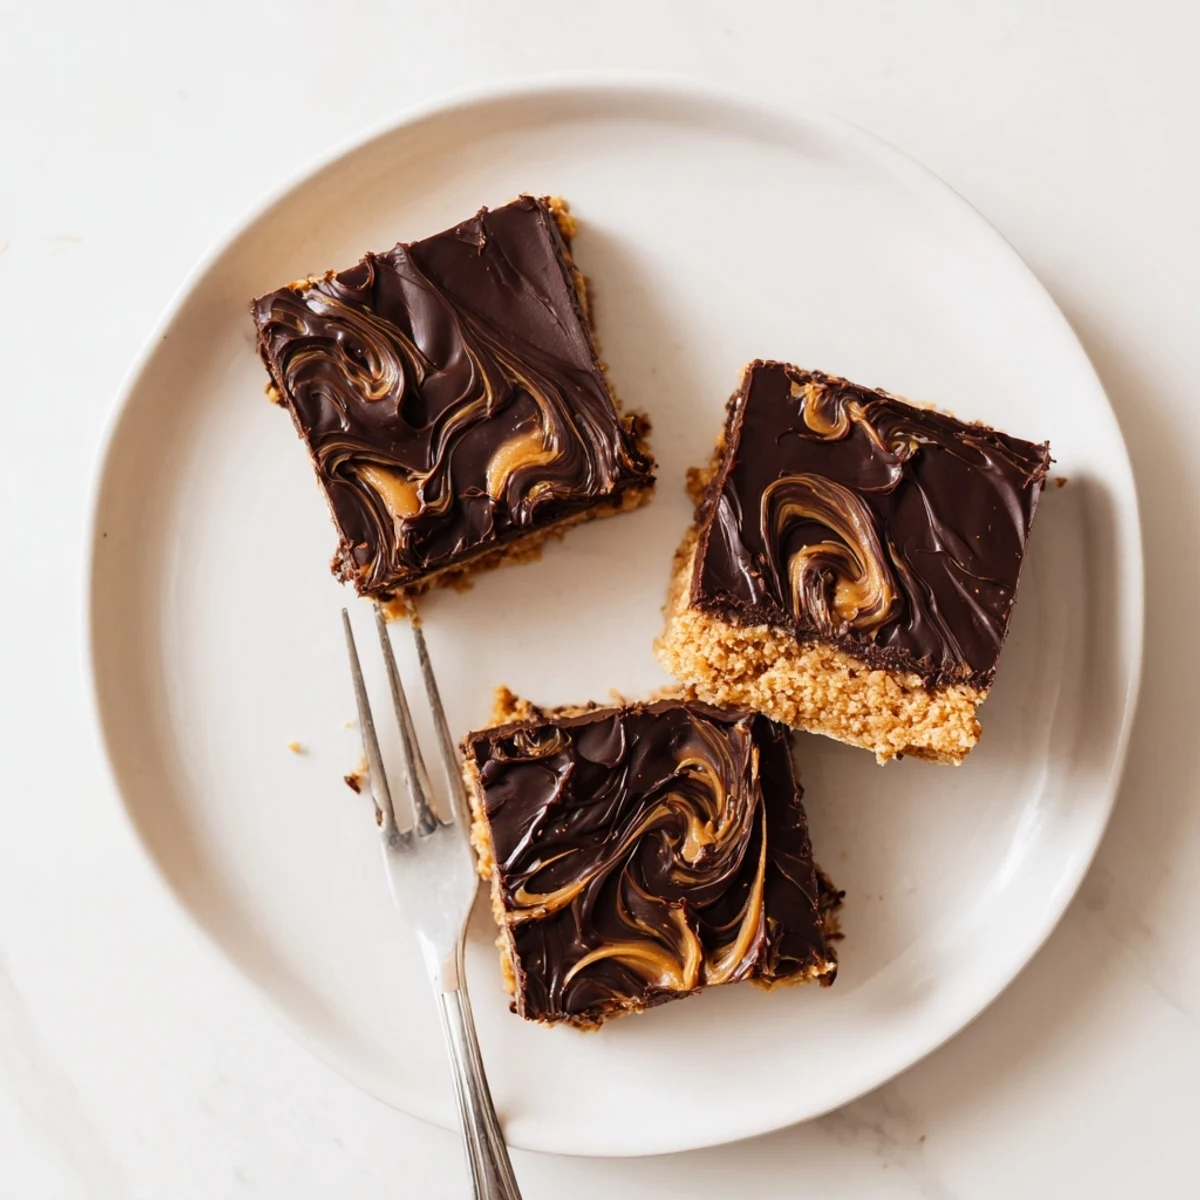
 These indulgent layered bars feature a buttery peanut butter and graham cracker base, crowned with silky melted chocolate. Simply mix, press, and refrigerate for a satisfying homemade treat that's ready with minimal effort.
The smell of peanut butter and chocolate melting together in a microwave at midnight is, frankly, a dangerous thing. My sister dared me to make something sweet with whatever was in the pantry during a summer blackout, and these bars were born from sheer stubbornness and a battery-powered lantern. No oven required, no fancy technique, just pure kitchen sorcery that has ruined my waistline ever since. They taste like the inside of a peanut butter cup, but you get to eat them in square form, which somehow makes them more acceptable for breakfast.
My neighbor Karen stopped by unannounced one afternoon and caught me standing at the refrigerator eating one of these straight from the pan with a fork. She looked horrified, then asked for the recipe, then asked for another bar. We stood in my kitchen in silence eating peanut butter bars and it remains one of the most honest friendships I have ever had.
Ingredients
- 1 cup creamy peanut butter: Use the regular commercial kind here, not the natural stir variety, because the stabilizers help the bars set firmly without separating.
- 1/2 cup unsalted butter, melted: Unsalted gives you control over the sweetness and keeps the base from tasting salty unless you want it to.
- 2 cups powdered sugar, sifted: Sifting matters more than you think because lumps create weird powdery pockets in your bars that nobody enjoys biting into.
- 1 1/2 cups graham cracker crumbs: These give the base structure and a slight honey warmth that plain breadcrumbs never could.
- 1 1/2 cups semisweet chocolate chips: Semisweet strikes the right balance against the sweet peanut butter base without tipping into bitterness.
- 1/4 cup creamy peanut butter for the topping: This small addition stirred into the chocolate keeps it from cracking when you cut the bars and adds a silky finish.
Instructions
- Prep your pan:
- Line a 9 by 9 inch baking dish with parchment paper and leave some hanging over the edges so you can lift the whole slab out later without a wrestling match.
- Build the base:
- Stir the melted butter and one cup of peanut butter together until they become one smooth, glossy mixture that smells like everything good in the world. Dump in the powdered sugar and graham cracker crumbs and stir until a thick, stiff dough forms that pulls away from the sides of the bowl.
- Press it down:
- Transfer the dough to your lined pan and press it firmly and evenly using a spatula or your hands. The back of a spoon works too if you want to feel like you are smoothing cement on a tiny delicious construction project.
- Melt the topping:
- Combine the chocolate chips and remaining quarter cup of peanut butter in a microwave safe bowl and heat in twenty second bursts, stirring between each one, until the mixture is completely smooth and pourable. Do not rush this part or the chocolate will seize and you will be sad.
- Spread and chill:
- Pour the chocolate mixture over the peanut butter base and spread it into an even layer with your spatula. Slide the whole pan into the refrigerator for at least two hours and try not to open the door every fifteen minutes to check on it.
- Cut and serve:
- Grab the parchment overhang and lift the entire block out of the pan onto a cutting board. Cut into sixteen squares with a sharp knife, wiping the blade between cuts for clean edges.
 Save to Pinterest
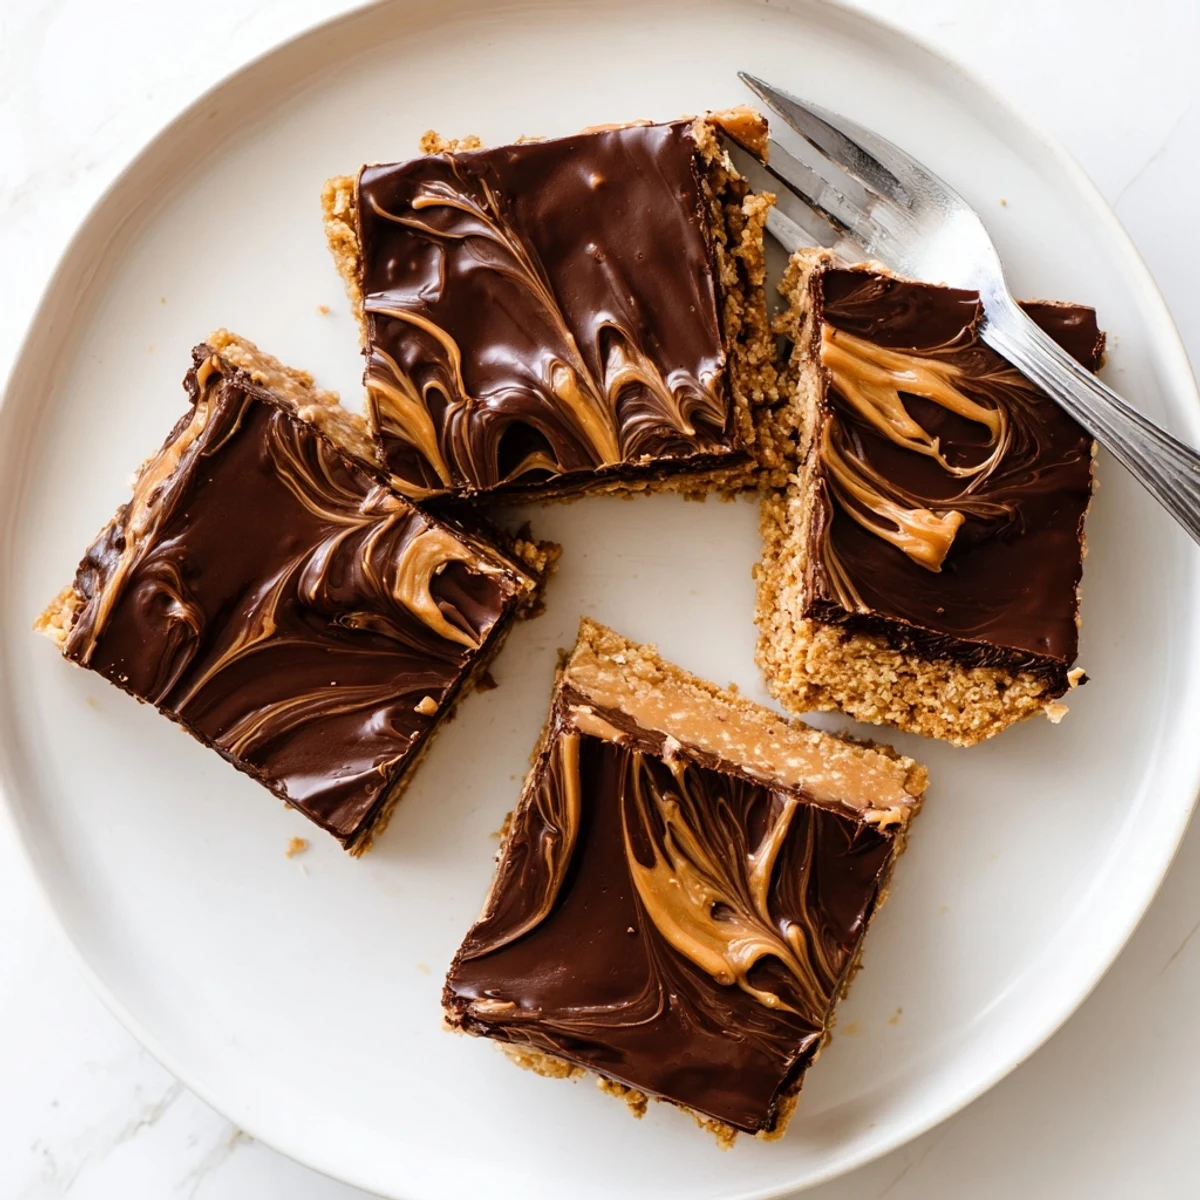
 I brought a tray of these to a potluck once and watched three grown adults pretend they were not going back for thirds. The pan was empty before the main course was served.
Swaps and Substitutions
Chunky peanut butter works beautifully if you want little bursts of crunch throughout the base. You can swap graham cracker crumbs for crushed digestive biscuits, vanilla wafers, or even gluten free cookies without changing the texture much. A sprinkle of flaky sea salt on top of the warm chocolate layer before it sets will make you look like a genius.
Storing Your Bars
Keep leftovers in an airtight container in the refrigerator because the chocolate topping softens at room temperature and the bars lose their satisfying firmness. They hold up well for about a week, though in my experience they rarely last more than three days.
Getting Clean Cuts
Run your knife under hot water, dry it quickly, and make each cut in one confident stroke for the neatest squares. A cold pan and a warm blade are the secret handshake of tidy dessert bars everywhere.
- Dip your knife in hot water between every single cut for perfectly clean edges.
- Chill the whole slab for ten extra minutes before cutting if the chocolate feels tacky.
- Wipe the blade with a damp cloth instead of a dry one because dry cloth just smears the chocolate.
 Save to Pinterest
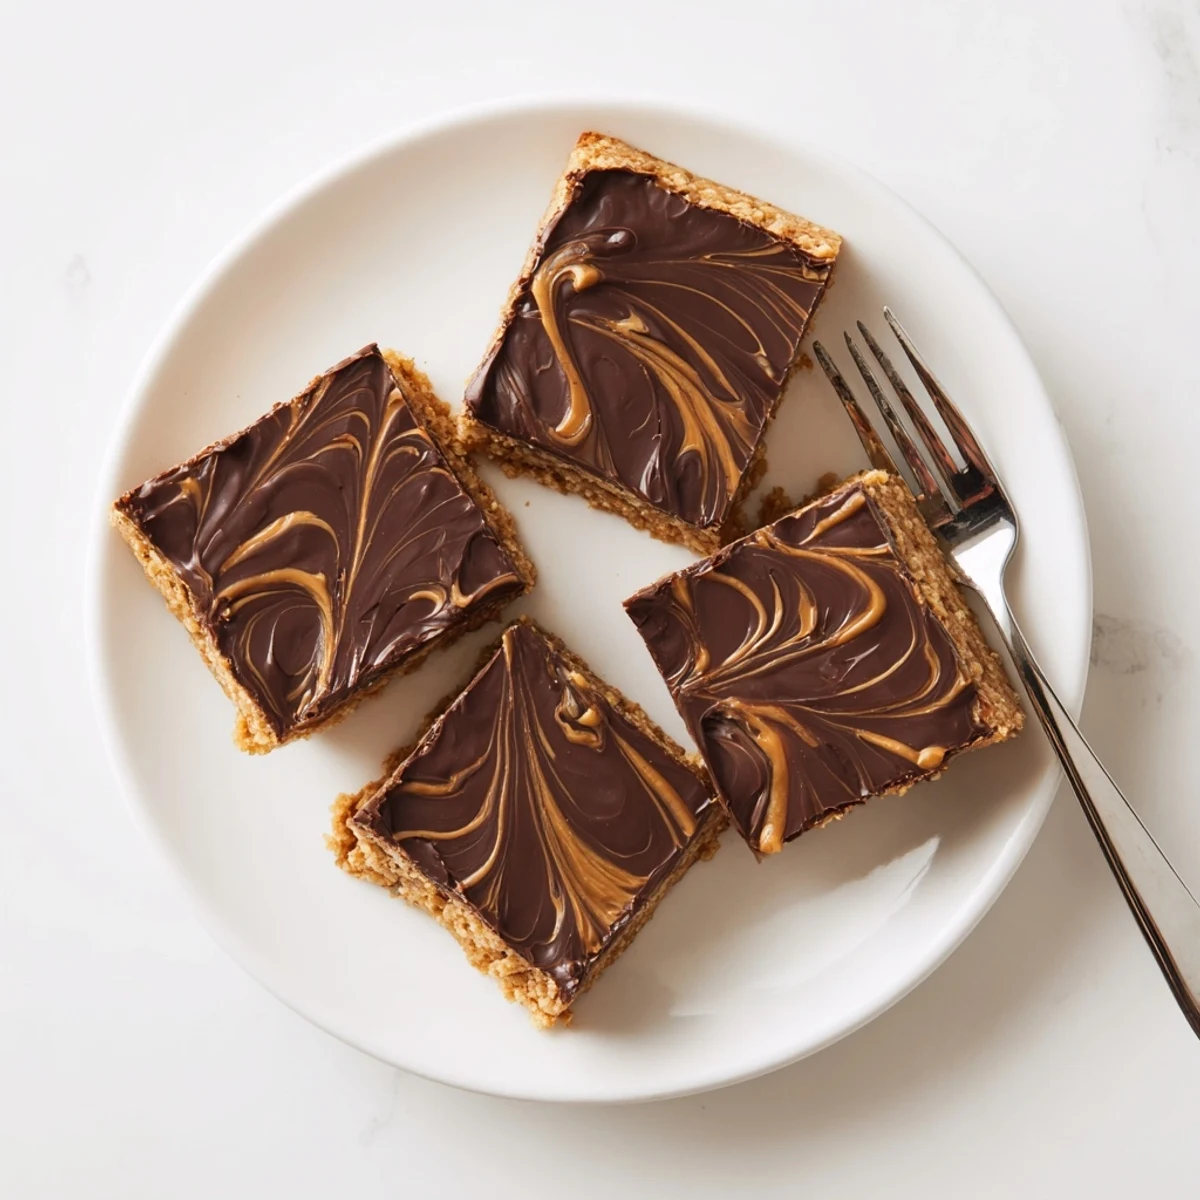
 Some recipes feel like a project and these feel like a gift you give yourself on a random Tuesday. Keep the ingredients stocked and you will never be without something sweet again.
Your Questions Answered
- → How long do peanut butter bars need to chill?
-
Refrigerate for at least 2 hours until the chocolate layer is completely set and the base is firm enough to cut cleanly.
- → Can I freeze these bars?
-
Yes, wrap individual portions in plastic and freeze for up to 3 months. Thaw in the refrigerator before serving.
- → What type of peanut butter works best?
-
Creamy peanut butter creates the smoothest texture, though chunky varieties add a pleasant crunch. Natural peanut butters may affect consistency.
- → How should I store leftovers?
-
Keep in an airtight container in the refrigerator for up to one week. The cold temperature helps maintain the chocolate topping's firmness.
- → Can I make these gluten-free?
-
Substitute graham cracker crumbs with certified gluten-free cookie crumbs or crushed gluten-free vanilla wafers.